
Last updated November 18, 2026








Free in-home design visit - walk-in showers, tub-to-shower conversions, and Kohler, Moen, and Delta fixtures planned to your exact space
Bathroom Remodeling Warning Signs: A Las Vegas Homeowner’s Reference Guide
Most guides tell you to watch for soft spots and dripping ceilings. That’s fine advice, but it misses what actually happens in Las Vegas bathrooms. The homes here were largely built during a boom that ran from the early 1990s into the late 2000s, and that means a huge share of original bathrooms are crossing the twenty-to-thirty-year mark for fixtures, supply lines and tile work at the same time. Failures don’t announce themselves with a flood. They show up as a chalky film that keeps coming back, a hairline crack that grows a little each summer, or a fan that sounds fine and moves almost no air. This reference guide walks you through the warning signs specific to Las Vegas homes, how to separate a cosmetic touch-up from a real gut remodel, and when to call a specialist.
Quick Answer
The main bathroom remodeling warning signs in Las Vegas are recurring mineral staining that returns within days, grout and tile cracks that widen during summer heat, an exhaust fan that runs but leaves the mirror fogged, supply lines that are original to a 1990s build, and fixtures that flex or rock under hand pressure. Any one of these is worth investigating. Two or more together, especially in a bathroom that’s never been updated, usually point toward a full remodel rather than a cosmetic refresh.
Styles & brands we work with
- Walk-in shower
- Tub-to-shower
- Freestanding tub
- Kohler
- Moen
- Delta
- Frameless glass
Table of Contents
- Hard Water Staining vs. Fixture Corrosion
- Grout Cracking and Slab Movement
- Exhaust Fan Performance in a Desert Climate
- Supply Line Age and Hidden Pipe Risk
- Cosmetic Refresh vs. Full Gut Remodel
- Fixtures and Finish Wear Signals
- A Room-by-Room Inspection Checklist
- Common Mistakes to Avoid
- When to Call a Professional
Hard Water Staining vs. Fixture Corrosion: How to Tell the Difference
Las Vegas water carries a high mineral load, and that changes what “normal” buildup looks like. Surface mineral film is white, chalky and wipes away with a mild acid cleaner like vinegar. It may return within a week or two. That’s a cleaning routine problem, not a fixture problem. Corrosion is different: it looks like pitting, flaking, a dull green or dark spotting that won’t lift, or a finish that feels rough under a fingertip. Once the plating on a faucet or shower trim is compromised, no cleaner brings it back, and the rough surface gives minerals even more to cling to.
Here’s how we tell them apart in practice:
- Wipe test: If a vinegar-soaked cloth lifts the stain completely, it’s film. If the stain stays and the surrounding finish looks duller than the rest, the plating is going.
- Pattern test: Mineral film builds evenly across the surface. Corrosion clusters around the spout tip, the aerator, the base of the handle or wherever water sits longest.
- Texture test: A pitted fixture catches a fingernail. A filmed one doesn’t.
This matters because homeowners often replace a faucet to solve a “staining” problem when the real issue is that the fixture finish is failing and the cartridge underneath is next. If you’re seeing corrosion on original builder-grade fixtures, it’s worth having the whole room assessed rather than swapping one part at a time. A bathroom remodeling plan that accounts for the water here will steer you toward finishes and cartridge designs that hold up longer between cleanings.
Grout Cracking Patterns and Slab Movement
It’s the pattern that matters, not the crack. Grout in any bathroom will develop a hairline somewhere. But Las Vegas homes mostly sit on slab foundations, and the soil beneath them expands and contracts with seasonal moisture and summer heat. That movement telegraphs directly into tile fields. When we inspect a bathroom, we look for cracks that run in a line across multiple tiles, cracks that follow the perimeter of the room, and cracks that reappear in the same place after being filled.
Here’s the sequence of events worth paying attention to:
- Single hairline in one grout joint: usually normal settling or a minor mix issue. Watch it.
- A crack crossing three or more tiles in a straight line: movement is transferring through the tile field. Filling it is a temporary fix at best.
- Cracks along the floor-to-wall transition: often the first visible sign that the substrate is moving relative to the framing.
- Loose or hollow-sounding tiles: the bond between tile and substrate has broken. Water can now get behind the tile face.
- Grout that crumbles rather than cracks: moisture is wicking through from behind.
Once water gets behind tile in a wet area, the damage happens out of sight: drywall softens, framing takes on moisture, and the failure shows up months later as a stain on an adjacent wall or a soft spot near the shower curb. This is the single most common reason a “small grout repair” turns into a full rebuild. A walk in shower built with a proper waterproofing system, like the Schluter products we install, is designed to tolerate that movement and keep water where it belongs.
Exhaust Fan Performance in a Desert Climate
A fan that spins is not a fan that works. This is one of the most misunderstood warning signs in Las Vegas. The typical bathroom fan installed in a 1990s home moves far less air than a modern one, and after twenty-plus years the bearings dry out, the blades collect dust and the whole unit gets quieter, which homeowners read as “better.” Meanwhile, the shower is still dumping condensation into a room that never fully dries.
Signs your fan isn’t doing its job:
- The mirror stays fogged for more than a few minutes after a shower ends.
- Paint or caulk near the ceiling peels or bubbles seasonally.
- There’s a musty smell that returns even after a deep clean.
- The fan is noticeably quieter than you remember.
- You can’t feel air movement holding a tissue to the grille.
- The fan is original to the house and has never been replaced.
Why does this matter more here than in a humid climate? Because in a desert, the indoor moisture load from a shower is the dominant source of humidity in the room. When the fan is undersized or failing, that moisture has nowhere to go but into the walls and the ceiling. A proper remodel includes a fan sized to the room and vented to the exterior, not into the attic. If you’re noticing fogged mirrors and peeling paint together, that’s a strong signal the bathroom is ready for a rework, not just a new fan.
Supply Line Age and Hidden Pipe Risk
Not all original plumbing is equally risky, and the warning signs are about age and material more than anything you can see. Homes built in the 1990s in Las Vegas may contain polybutylene supply lines or early CPVC, both of which have a service life that’s now well within the range where failures become common. You won’t see a supply line behind a wall until it leaks, and by then you’re dealing with drywall, framing and sometimes flooring.
What to check, and when:
- Locate the shutoff valves under the sink and behind the toilet. If they’re original and stiff, they’re a failure point on their own.
- Look at the visible supply lines at the sink and toilet. Braided stainless is a modern upgrade; gray or white plastic tubing is a sign of an older install.
- Ask when the bathroom was last opened up. If the answer is “never,” and the house is from the 1990s, the lines behind the walls are the same age.
- Watch for small water marks on the ceiling below the bathroom. A slow supply line drip shows up on the floor below long before it shows up in the bathroom.
If you’re already planning a remodel, opening the walls for a proper Dayspring Bath Remodeling project is the moment to replace aging supply lines and shutoffs. Doing it later means tearing out finished work. We treat this as part of any full bathroom rebuild, not an optional add-on.
Cosmetic Refresh vs. Full Gut Remodel: Where’s the Line?
This is the decision most homeowners get wrong, usually by spending on cosmetics when the underlying structure is failing. The honest answer is that a cosmetic refresh is fine when the problems are on the surface, and a full remodel is the responsible choice when the problems are behind the surface. Here’s how we draw the line.
A cosmetic refresh is likely sufficient when:
- The tile is intact, well-bonded and free of cracks.
- The shower pan holds water without leaking and the drain isn’t loose.
- Fixtures are cosmetically worn but functioning.
- The exhaust fan moves air and vents outside.
- There are no signs of moisture behind the walls.
A full remodel is the responsible path when:
- Grout cracks cross multiple tiles or reappear after repair.
- Tiles sound hollow or flex underfoot.
- There’s any history of a leak from the bathroom into the space below.
- Supply lines or shutoffs are original to a 1990s build.
- The shower pan or curb has cracked, separated or shows movement.
- You’re planning for accessibility and the current tub blocks the way.
When the second list is longer than the first, putting new fixtures on top of failing substrate is a mistake that comes back. The room will look new for a year or two, then the same signs return because the cause was never addressed. A full remodel lets you correct waterproofing, supply lines, ventilation and layout in one pass.
Fixtures and Finish Wear Signals
Fixtures are where homeowners notice the problem first, because they’re what you touch every day. A toilet that rocks at the base, a faucet that drips or has lost pressure, a shower trim that wobbles: each is a small annoyance that’s also a signal. A rocking toilet nearly always means a failed flange or a compromised seal at the floor, which lets water reach the subfloor. A wobbling shower valve body can be a sign the rough-in is separating from the wall.
When it’s time to replace, the fixture you pick matters for longevity. Builder-grade lines that came with the house are designed to a price point. Modern Moen, Delta and American Standard cartridges and finishes hold up better in hard water, and premium lines like Toto and Grohe are worth considering if you’re planning to stay in the home. The right fixture for your budget and your bathroom is the whole point of working with a specialist who can compare the options honestly rather than steer you to whatever is on hand.
We work with eight fixture and systems brands: Kohler, Moen, Delta, American Standard, Toto, Schluter, Sterling and Grohe. That range matters because it lets the recommendation follow your room and your budget, not the other way around.
A Room-by-Room Inspection Checklist
Set aside an hour with a flashlight and a notepad. Walk the bathroom in this order and write down what you see. This is the same sequence we use on a first visit, and it’s the fastest way to know whether you’re looking at a touch-up or a rebuild.
- Ceiling and upper walls: Look for bubbling paint, peeling caulk and any discoloration. Any of those mean moisture is getting where it shouldn’t.
- Exhaust fan: Turn it on, hold a tissue to the grille, and time how long the mirror stays fogged after a hot shower.
- Grout and tile: Get down low and sight along the floor. Cracks that run in a line, hollow-sounding tiles and loose pieces all get written down.
- Shower and tub surround: Press gently on the surround. Flex or give means the bond behind it has failed.
- Caulk lines: Caulk that has pulled away from the tub or shower base, especially at corners, is an entry point for water.
- Faucets and valves: Check for drips, reduced flow and wobble at the base. Look at the aerator for mineral crust.
- Toilet: Sit and shift your weight. Any rocking means the seal is compromised.
- Under-sink and behind-toilet area: Open the cabinet and look at the shutoff valves and supply lines. Note the material and the age.
- Floor below the bathroom: Look at the ceiling directly underneath. Any ring or stain, no matter how faint, is a red flag.
- Windows and exterior walls: In Las Vegas, sun exposure on an exterior wall drives heat into the room. Check for cracked caulk and any sign of moisture at the window.
If your list has more than three items, it’s worth a professional walkthrough before you spend on anything cosmetic.
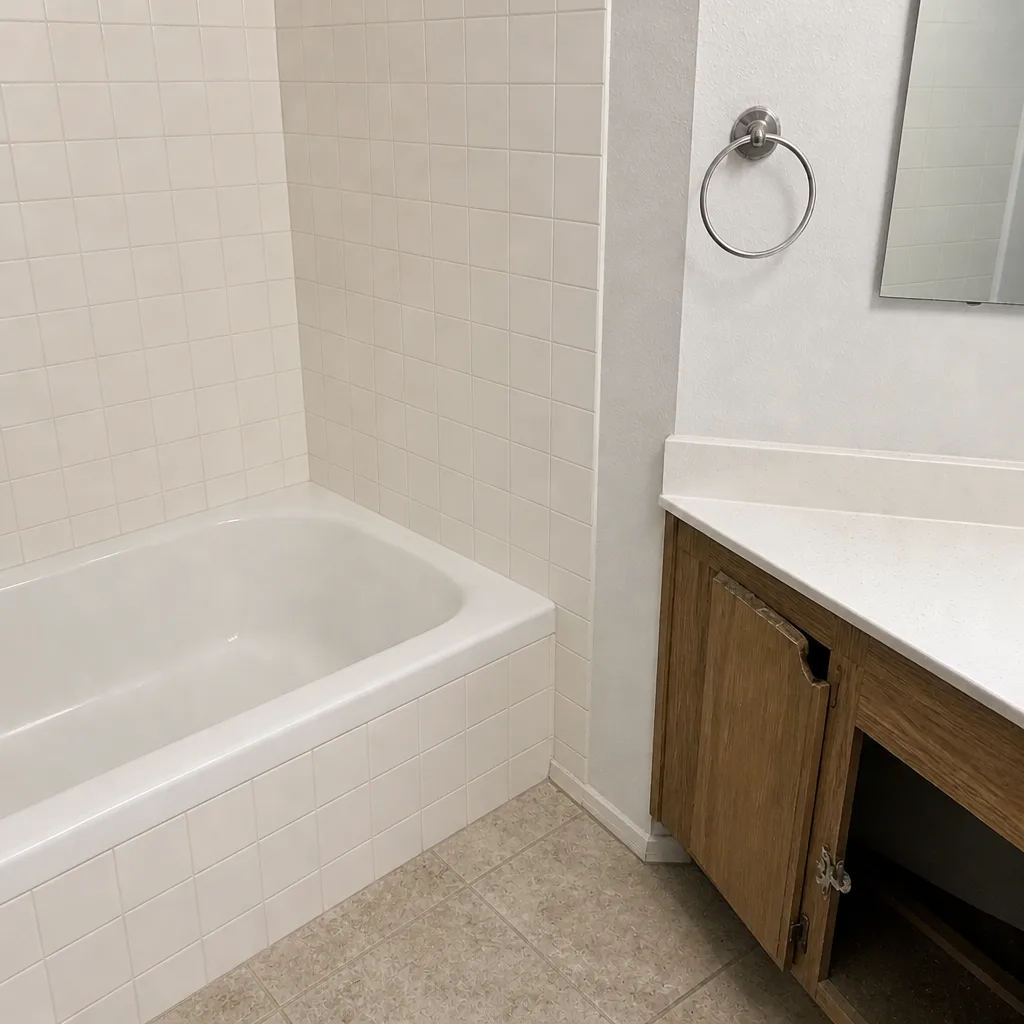
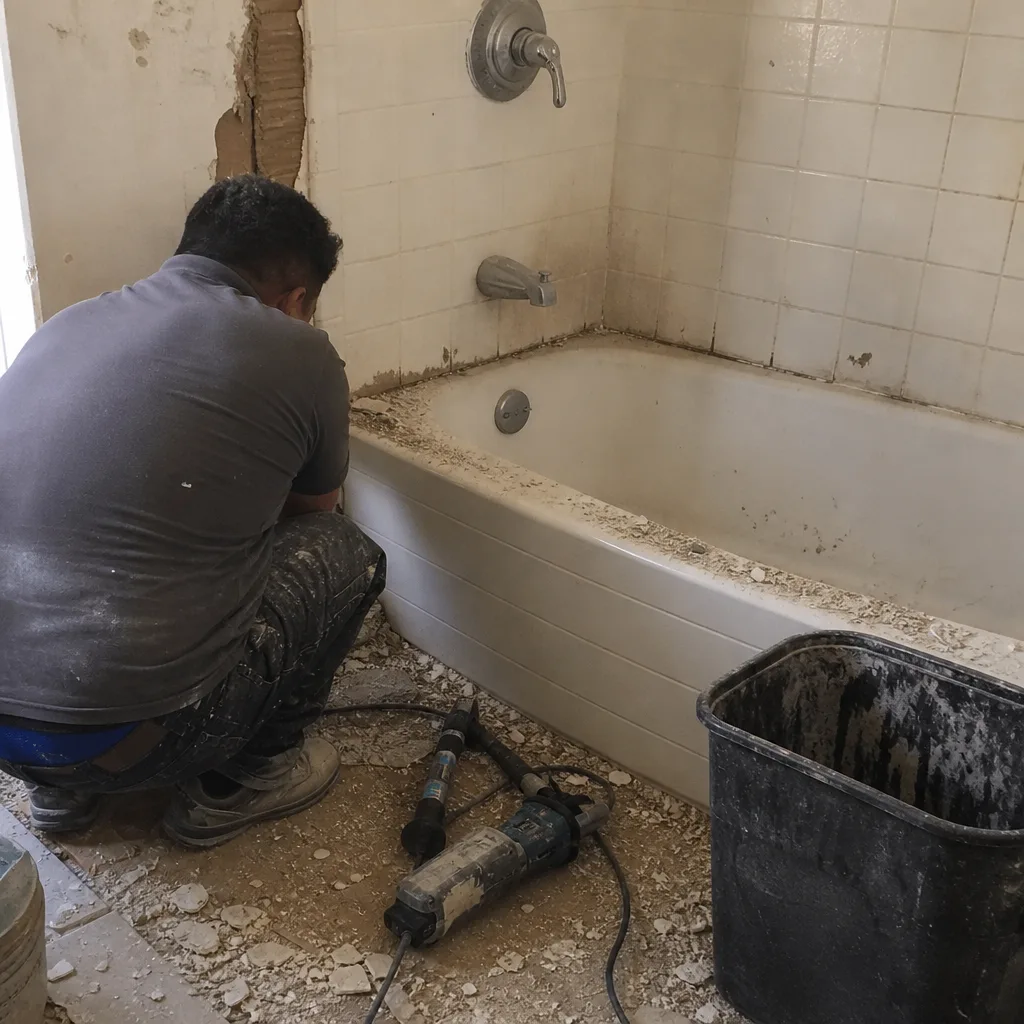
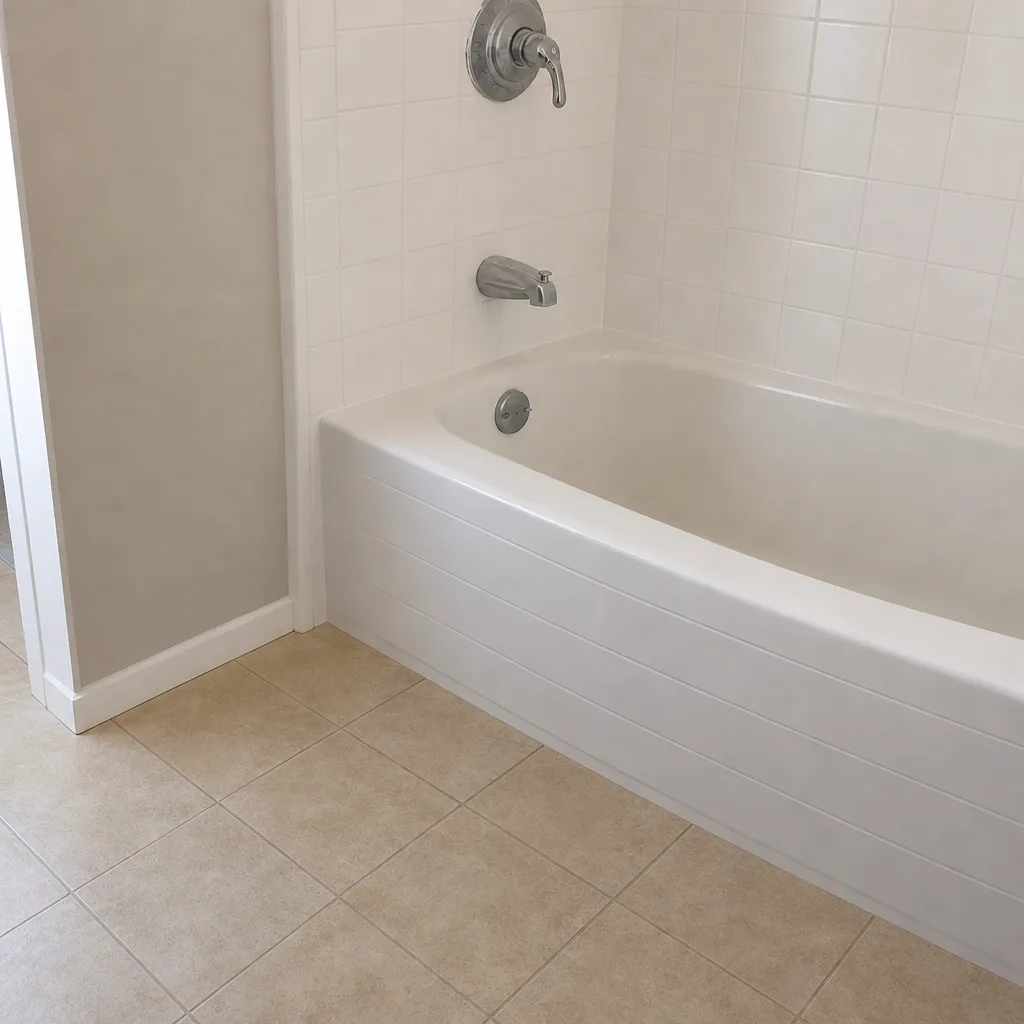
See the difference
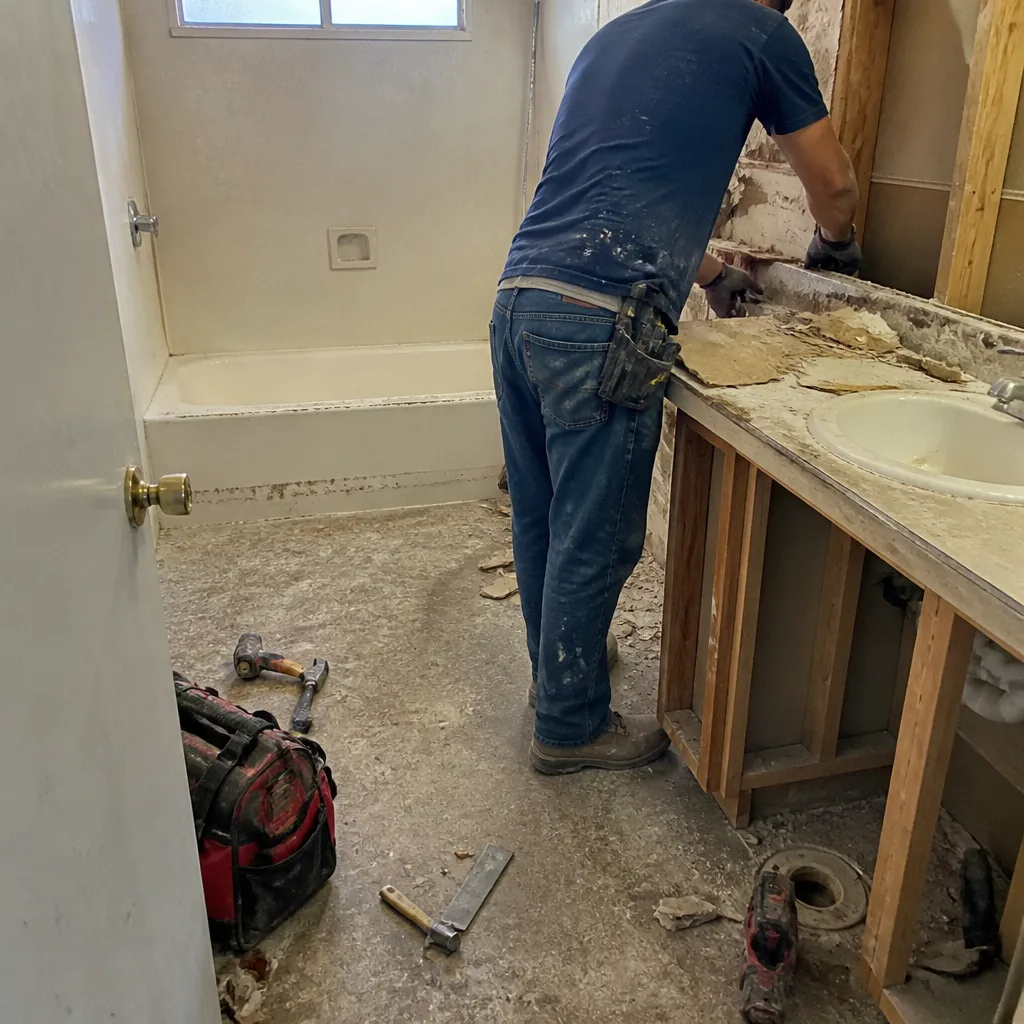 Before
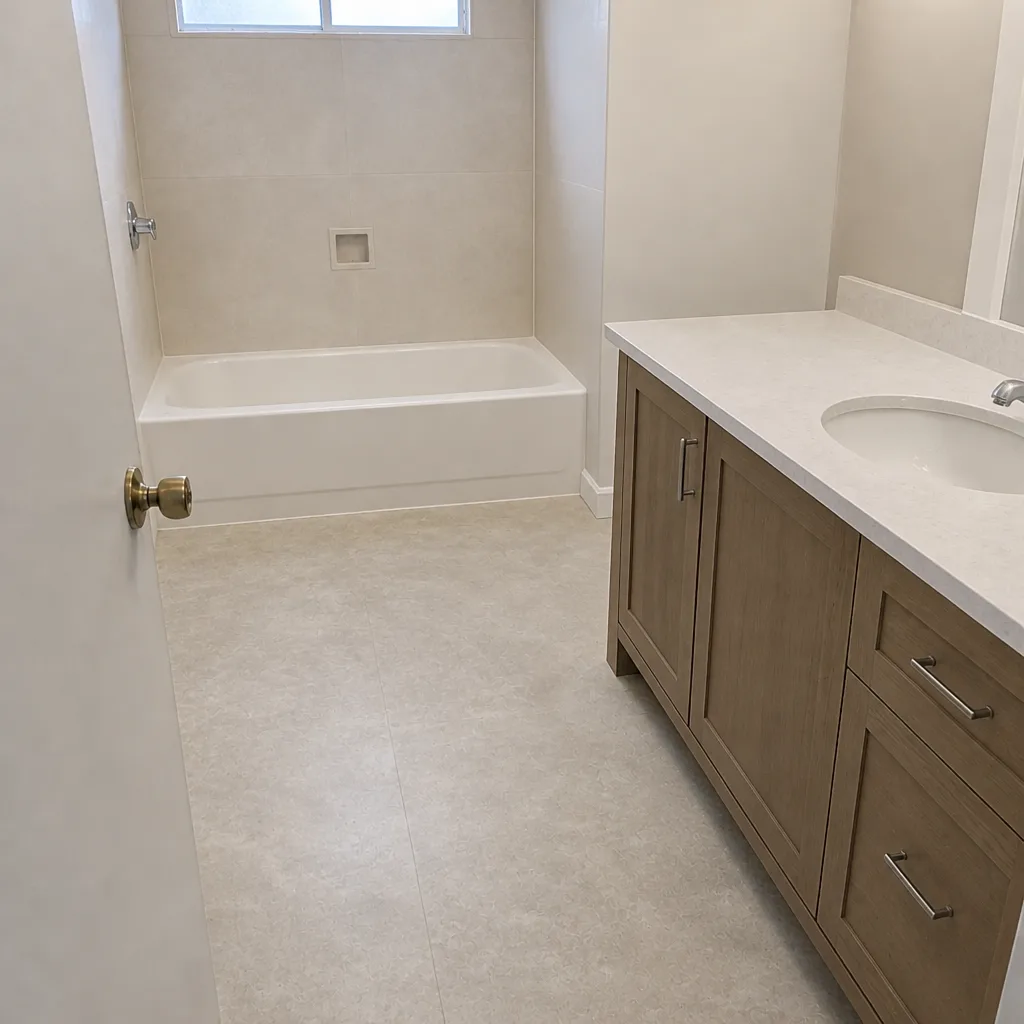 After
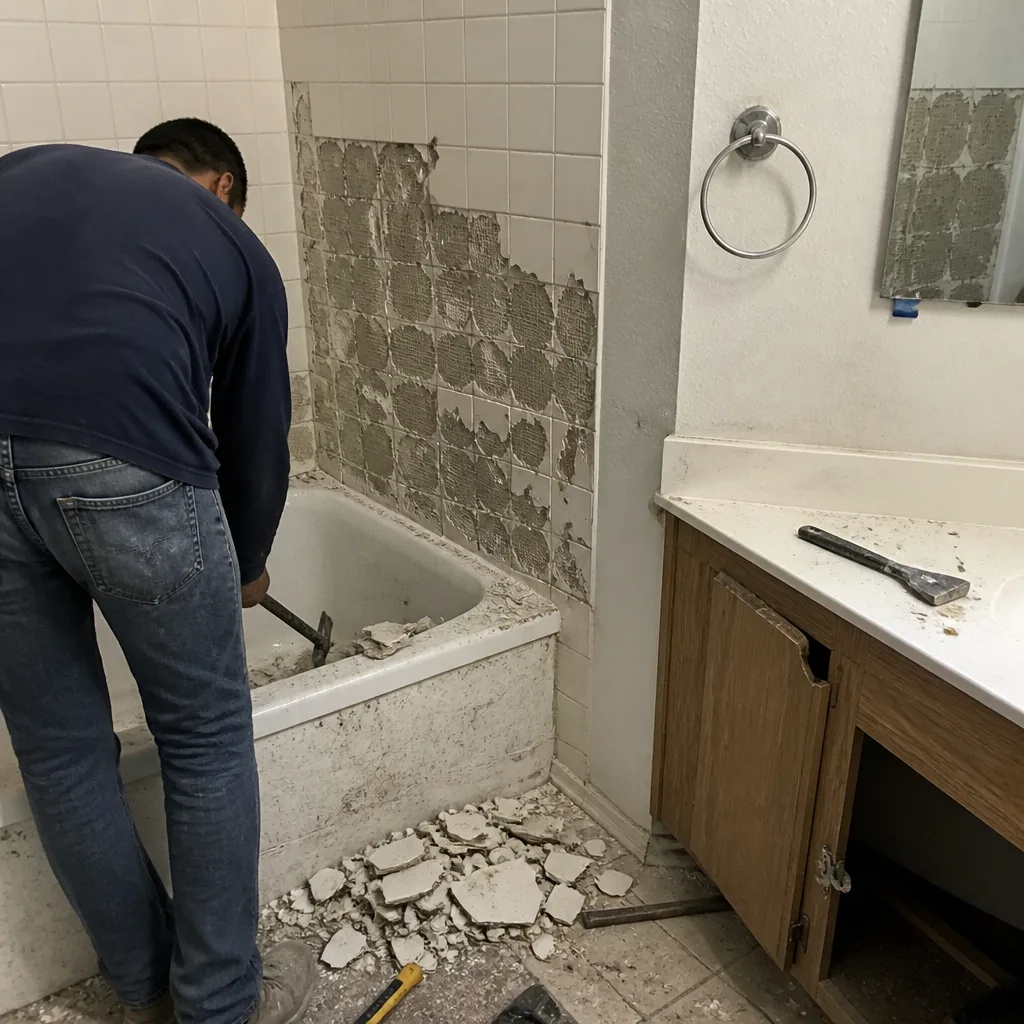 Before
 After
 Before
 After
Common Mistakes to Avoid
- Painting over moisture. A fresh coat of paint hides a ceiling stain for a season. It doesn’t stop the water behind it, and in a Las Vegas summer the heat pushes that moisture out faster than you’d expect.
- Regrouting without checking the substrate. New grout over a moving tile field cracks again within a year. Find the cause first.
- Replacing one fixture when the problem is the plumbing. A new faucet on aging supply lines and stiff shutoffs doesn’t fix the risk behind the wall.
- Ignoring the exhaust fan because it “still works.” A fan that spins isn’t a fan that dries the room. Replace it if it’s original to the house.
- Choosing a general contractor for a bathroom-only job. A bathroom is the most detail-dense room in the house. A specialist who builds nothing else brings focused experience to waterproofing, tile transitions and fixture fit.
- Chasing the cheapest bid. A low bid usually comes from skipping waterproofing, ventilation or supply line replacement. Those are the parts you can’t see and can’t easily fix later.
- Planning for today’s needs only. If you’re in your 50s or 60s and love the home, a walk-in shower with a low threshold is a decision that pays off in comfort now and options later.
When to Call a Professional
Call a professional if you’ve found any water staining below the bathroom, grout cracks that cross multiple tiles or keep coming back, hollow-sounding tile, a rocking toilet, original supply lines in a 1990s home, or an exhaust fan that leaves the room damp after a shower. Also call if you’re considering a cosmetic refresh but any of those signs are present. It’s cheaper to find out now than after new finishes have to come back out. Our technicians have up to 10 years of experience, and we’ve walked through enough Las Vegas bathrooms to know which warning signs are cosmetic and which point to a rebuild. Dayspring Bath Remodeling offers free estimates in Las Vegas. Call (888) 393-8208 to schedule yours. We answer 24/7. Fast dispatch from 7am to 7pm, Sunday through Friday.
Frequently Asked Questions
Recurring mineral staining that returns within a week, or grout cracks that reappear after being filled, are usually the first visible signs. Both point to a cause beneath the surface: a failing finish or a moving substrate. If either shows up in a bathroom that’s never been updated, it’s worth a professional look. Call (888) 393-8208 for a free estimate.
A refresh is enough when the tile is intact, the shower pan holds water, the fan works and there’s no sign of moisture behind the walls. A full remodel is the responsible path when grout cracks cross multiple tiles, tiles sound hollow, there’s a leak history, or the supply lines are original to a 1990s build. When in doubt, get a professional walkthrough before spending on cosmetics.
Yes, particularly polybutylene and early CPVC lines, which have now reached the age range where failures become common. You can’t see the condition of the lines behind the wall, so the safest move is to have them inspected, and to replace them during a remodel if the walls are already open. Call (888) 393-8208 for an assessment.
A fan that spins isn’t necessarily a fan that moves enough air. After decades of use, bearings dry out and blades collect dust, and the fan gets quieter while doing less. If the mirror stays fogged or paint near the ceiling peels, the fan is a real warning sign. A remodel should include a fan sized to the room and vented to the exterior.
Slab foundations in Las Vegas move with seasonal soil expansion and summer heat, and that movement transfers into tile fields. A single hairline is normal. Cracks that run in a line across multiple tiles, or that reappear after repair, mean the substrate is moving and the tile system needs a proper fix.
For a bathroom-only project, a specialist brings concentrated experience in waterproofing, tile transitions and fixture fit, which are the details that determine how long the room lasts. Dayspring Bath Remodeling works only on bathrooms and installs products from Kohler, Moen, Delta, American Standard, Toto, Schluter, Sterling and Grohe. Call (888) 393-8208 for a free estimate.
The Bottom Line

The warning signs worth acting on in Las Vegas bathrooms are usually the quiet ones: a stain that keeps returning, a crack that reappears each summer, a fan that sounds fine but leaves the room damp, or original supply lines still behind the walls of a 1990s home. Any single sign deserves a look. Two or more together, in a bathroom that’s never been updated, usually mean a full remodel is the honest answer. The room will tell you before it fails. Our advice is always the same: read it early, get a written estimate, and fix the cause rather than the surface. Call (888) 393-8208 for a free estimate. We answer 24/7. Fast dispatch from 7am to 7pm, Sunday through Friday.
Written by the team at Dayspring Bath Remodeling.