Last updated November 18, 2026






Free in-home design visit - walk-in showers, tub-to-shower conversions, and Kohler, Moen, and Delta fixtures planned to your exact space
Bathroom Remodeling Troubleshooting in Las Vegas: Common Problems and How to Fix Them
Most people assume a bathroom remodel goes wrong because of bad luck or a bad contractor. In Las Vegas, that’s rarely the whole story. The problems we get called about – crumbling grout, cloudy fixtures, tiles that lift and pop, caulk lines that pull away within a year – follow patterns, and those patterns trace back to hard water, desert temperature swings, and installation shortcuts that don’t show up until months later. This guide walks through the most common post-remodel problems in Las Vegas, how to tell a fixture defect from an installation error, and what each fix realistically costs.
Quick Answer
The most common bathroom remodeling problems in Las Vegas come from three sources: mineral-heavy water that attacks grout, caulk and fixtures; extreme indoor-outdoor temperature swings that move subfloors and crack tile; and skipped waterproofing steps behind the walls. Most cosmetic issues are repairable without demolition, but recurring leaks, popping tile and persistent moisture usually require reopening the assembly – and that’s a job for a bathroom specialist, not a patch-and-hope fix.
Styles & brands we work with
- Walk-in shower
- Tub-to-shower
- Freestanding tub
- Kohler
- Moen
- Delta
- Frameless glass
Table of Contents
- Why Las Vegas Hard Water Causes Most Post-Remodel Complaints
- Why Tile Cracks and Pops in Las Vegas Homes
- How to Tell a Defect from an Installation Error
- Troubleshooting the Five Most Common Post-Remodel Complaints
- When It’s a DIY Fix vs. When Tile Has to Come Up
- Which Materials Actually Hold Up in the Desert
- How to Prevent Repeat Problems
Why Las Vegas Hard Water Causes Most Post-Remodel Complaints
Las Vegas tap water averages a hardness level above 250 mg/L – nearly triple the national average – and that single number explains a large share of the complaints homeowners bring to contractors here. Water that mineral-heavy leaves calcium and magnesium deposits everywhere it touches. Over months, those deposits etch glass, dull chrome, crust faucet aerators and showerheads, and feed the chalky white film that collects along grout lines.
The damage isn’t cosmetic only. Hard water is slightly aggressive against cementitious grout, and in a shower that sees daily use, it breaks down the surface of the grout joints faster than in a soft-water city. Once the grout surface erodes, water gets behind it, and that’s when discoloration turns into something structural.
Where we see the pattern most clearly:
- Shower floors and lower walls take the heaviest mineral load and show deterioration first.
- Caulk joints at tub decks and shower corners crack and pull away as mineral deposits work into the seam.
- Faucet cartridges and valve internals in high-mineral water wear faster, leading to drips that seem premature for a new fixture.
- Glass shower panels cloud permanently if mineral film isn’t managed from the first weeks.
One clarification that matters: a faucet drip in year two isn’t automatically a defective cartridge. In a city with water this hard, cartridges need periodic cleaning or replacement – and that’s maintenance, not a warranty claim. Knowing the difference between mineral wear and a genuine defect saves homeowners from pointless warranty arguments.
In our experience, the bathroom remodels that age best in Las Vegas are the ones that treated hard water as a design factor from day one: sealed grout with a quality impregnating sealer, epoxy or urethane grout in wet zones, and fixtures chosen with replaceable, serviceable cartridges. Names like American Standard and Delta build workhorse cartridges that are easy to service in a hard-water market, which is one reason we keep both in our lineup.
Why Tile Cracks and Pops in Las Vegas Homes
Tile lippage and cracking happen in every city, but Las Vegas homes see them more often – and the reason is thermal movement. Desert temperatures regularly swing 30 to 40 degrees between daytime highs and overnight lows, and indoor air conditioning keeps interior floors 20 to 30 degrees cooler than the outside slab in summer. That constant differential causes building materials to expand and contract at different rates.
Wood-framed subfloors and OSB sheathing move with humidity and temperature. A tile assembly bonded over an inadequately prepared subfloor can’t absorb that movement, so the stress concentrates at grout joints and tile edges. When it exceeds what the assembly can handle, grout cracks, tile edges chip, and eventually individual tiles go hollow – what tradespeople call “popped” or “tenting.”
There are three common culprits we see behind tile movement in Las Vegas:
- Insufficient subfloor prep. Tile laid over a floor that flexes beyond the allowed deflection – common in older homes with thin subfloor over widely spaced joists – will always move.
- Wrong mortar for the situation. Modified thinset has to match the tile type and the substrate. Porcelain over a Schluter uncoupling membrane calls for one setup; large-format tile over cement board calls for another.
- Skipped movement joints. Large tiled areas need expansion joints at perimeter edges and at the intersection of floors and walls. Without them, the whole field carries the movement and something has to give.
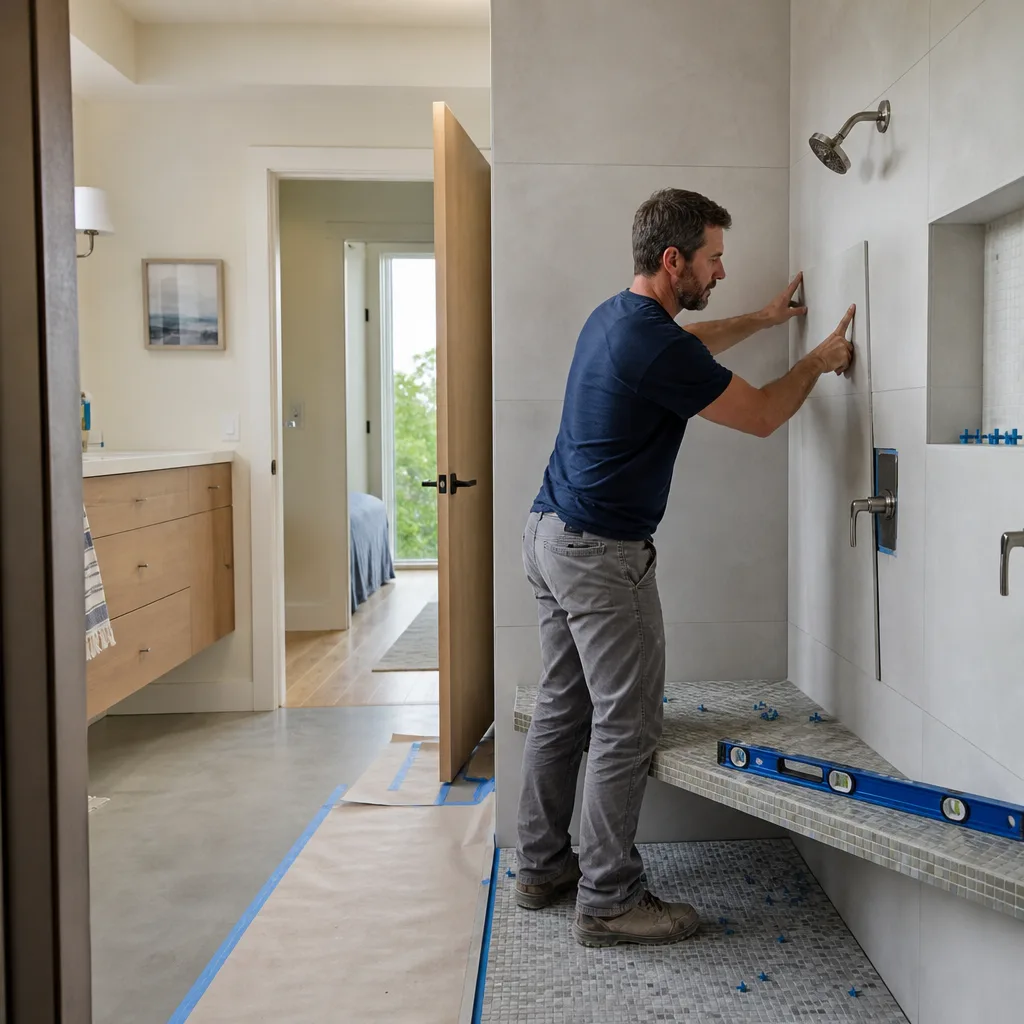
A hollow sound underfoot or a line of cracked grout running in a straight line across the floor is a strong signal of movement rather than a bad tile. The fix for minor movement is usually regrouting with a flexible grout. The fix for established lippage or tenting means removing the affected tile and correcting the assembly underneath – which is why the substrate step is worth doing right the first time. This is why our teams work with Schluter systems for waterproofing and tile transitions: the uncoupling layer gives the tile assembly a chance to move without cracking.
How to Tell a Defect from an Installation Error
Every complaint after a remodel falls into one of three categories: a manufacturing defect in the fixture, an installation error in the work itself, or a site condition – something about the home or the water that no product or installer can fully control. Sorting the problem correctly before you call anyone saves time, arguments and money.
Fixture Defect
The product arrived or failed out of the box. Cartridge failures, valve leaks at the body seam, finish peeling on a new faucet, or a shower valve that won’t hold temperature within weeks of install point to a defect. These are warranty-covered. Keep the spec sheet and model number handy; a manufacturer’s warranty claim doesn’t require the original installer to return.
Installation Error
The installation itself set up the failure. Signs include:
- Water pooling at a shower curb or beneath a shower pan
- Grout lines that fail uniformly across a new installation within the first year
- Tile edges lifting straight from the perimeter
- Caulk joints that pull away uniformly rather than at isolated spots
- Loose shower valves behind the wall
Installation errors are the original contractor’s responsibility. That’s the argument for hiring a specialist with a paper trail – written scope, waterproofing detail and material specifications – rather than whoever submitted the lowest bid.
Site Condition
The home itself creates the problem. Hard water at 250+ mg/L, a known plumbing pressure issue, slab movement, or a pre-existing drain that’s slightly out of level. No install can override a site condition permanently. The correct strategy is mitigation: a water softener upstream of the shower, a pressure-reducing valve, or a sloped pre-slope under the shower pan.
Diagnosing which category you’re dealing with takes maybe 20 minutes with a flashlight and a moisture meter. Start there before you call anyone. If the answer isn’t obvious, that’s when a specialist’s eye pays for itself.
Troubleshooting the Five Most Common Post-Remodel Complaints
Nearly every call we get about a bathroom in Las Vegas traces to one of five problems. Here’s how to tackle each.
1. Grout Discoloration
The problem: grout goes from bright to dull grey or brown within a year, mostly in showers and floor traffic lanes.
The likely cause: mineral deposits embedded at the surface. Hard water plus regular shower-use oils deposits a film that holds dirt.
The fix, step by step:
- Clean with a pH-neutral stone and tile cleaner and a soft brush. Skip acidic cleaners on cementitious grout unless the grout is sealed.
- If the discoloration is only surface-level, an impregnating sealer applied after cleaning will deepen the color and slow re-staining.
- If the grout is chalky, soft or crumbling when you scrape it, the top layer is failing. Regrouting the affected joint (removing the top few millimeters, re-filling with epoxy or urethane grout) is the correct fix.
- If discoloration returns within a few weeks of cleaning, suspect moisture behind the tile rather than staining – see problem #5.
2. Slow Drains
The problem: water pools in the shower pan and drains slowly after a remodel, even though the drain was checked at handoff.
The likely cause: hair and soap scum caught in the drain trap, or a slope issue in the shower pan that lets water sit in a low spot.
The fix:
- Pull the drain strainer and clear the trap with a hair snake. This resolves the majority of slow drains.
- If the drain is clear and the water still pools, check whether the shower pan holds a low spot. A marble or level placed on the pan reveals this in seconds.
- If the low spot is shallow, a small section of tile can be removed, the pan re-sloped with thinset, and new tile laid. If the pan was built with the wrong slope, the fix means rebuilding the pan – a bigger job.
3. Fixture Leaks
The problem: a drip at a showerhead, a puddle under a vanity, or water marks at the base of a tub faucet weeks or months after install.
The likely cause: a loose connection, a cartridge with mineral buildup, or a failed supply line. In Las Vegas, hard water accelerates the third.
The fix:
- Try tightening the connection, starting at the supply line at the valve body. Do it gently – overtightening can crack a fitting.
- If the connection is sound and the drip continues, the cartridge is likely the failure point. Replacement is affordable and fast for most brands.
- If water is appearing under a vanity or cabinet floor, shut off the supply at the valve and call for help. Water damage behind cabinets multiplies within days.
None of these fixes are worth DIY attempts if they get into the wall. Anything behind tile or drywall requires a trained technician.
4. Tile Popping
The problem: individual tiles lift at the edges, feel hollow, or crack unpredictably.
The likely cause: subfloor movement as described above, insufficient thinset coverage, or wrong substrate.
The fix:
- Tap the tile with a coin. A hollow sound indicates a bond failure under that tile.
- Isolated tiles can usually be removed, the substrate cleaned and re-installed with full-coverage thinset.
- If several adjacent tiles are hollow or the cracks run in a line, the underlying assembly is the problem. Rebuilding the affected section – removing tile, correcting substrate, re-waterproofing, re-tiling – is unavoidable.
- Never just glue popped tile back down. It fails again within a season.
5. Ventilation Moisture
The problem: recurring condensation on the mirror, persistent musty smell, or moldy corners and grout lines, even with a fan running.
The likely cause: an undersized or improperly vented fan, or a fan that runs but doesn’t vent to the exterior. In a desert climate it’s tempting to think ventilation doesn’t matter, but bathroom humidity is 100% regardless of outside weather.
The fix:
- Check the exhaust fan’s airflow by holding a tissue to the grille. If it pulls the tissue flush, it’s working. If not, it’s clogged or undersized.
- Confirm the duct actually runs to the exterior. Many installations run the duct into the attic, which converts the attic into a moisture-soaked space and can create mold in the central air handler.
- If the fan is underpowered for the room size, replace it with a correctly sized unit or add a humidity-sensing controller.
- Treat any existing mold or mildew with a bathroom-safe product, then fix the ventilation. Cleaning without fixing the source resets the clock on a repeat problem.
When It’s a DIY Fix vs. When Tile Has to Come Up
The line between a homeowner fix and a job for a professional comes down to what’s behind the surface. Caulk, grout, aerators, drain strainers, shower heads and even cartridges on exposed valves are all things a careful homeowner can handle. Anything that involves opening a wall, moving a valve, or disturbing the waterproofing assembly behind tile is a professional job.
A useful rule of thumb:
- On the surface: DIY is reasonable. Cleaning, sealing, replacing caulk, tightening fittings, swapping cartridges.
- At a fixture connection: DIY is reasonable with the right tools and the water shut off. Same-day results are achievable.
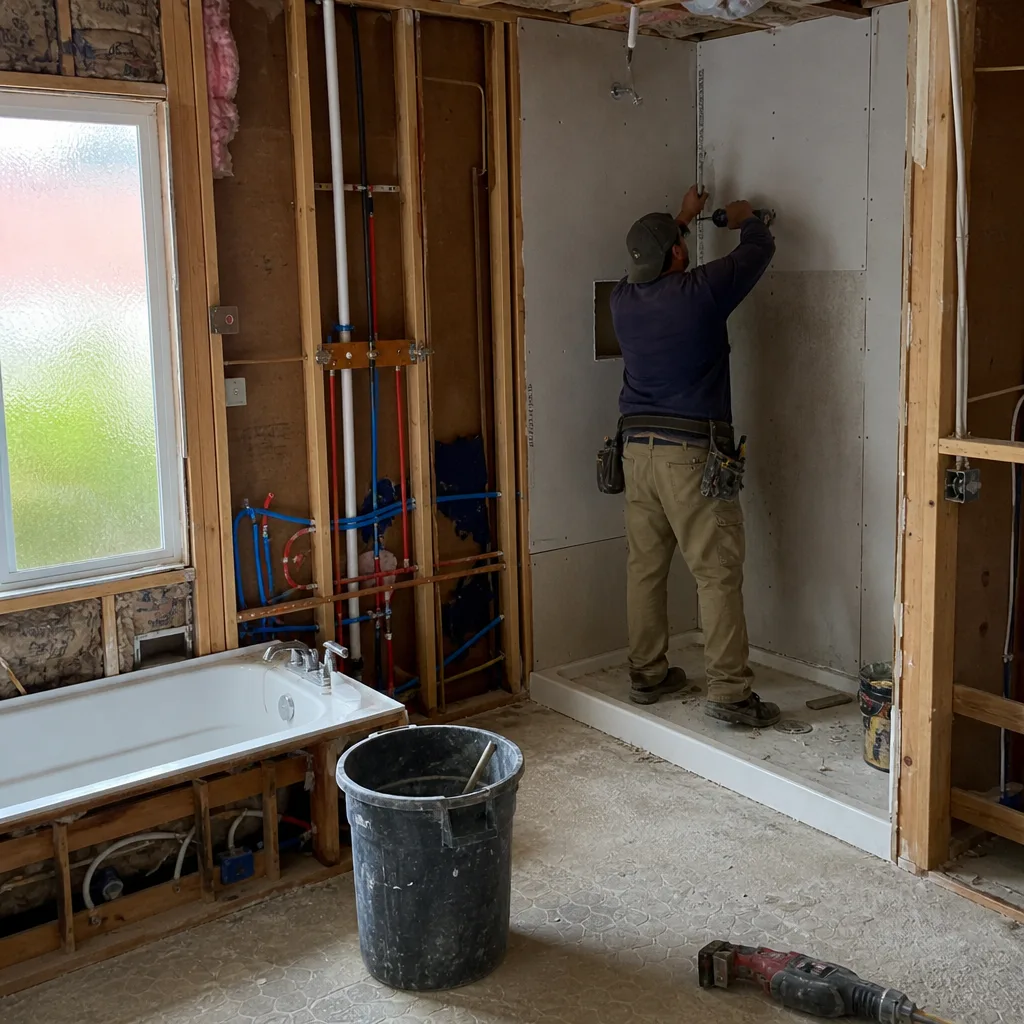
- Behind tile or drywall: Call a specialist. Waterproofing assemblies are layered assemblies – the bonded membrane, the tile-setting mortar, the tile itself. Once a layer is opened, the whole assembly has to be addressed.
What it realistically costs to reopen and repair vs. patching:
- Regrouting a shower wall: typically an hours-based job, done in a visit.
- Replacing a failed cartridge: a small single-fixture job.
- Rebuilding a shower pan or repairing failed tile over a compromised substrate: a multi-day job that involves demolition, substrate correction, waterproofing and re-tiling.
- Rebuilding the shower walls entirely when waterproofing has failed: an approximation of a partial remodel.
We quote every job with a written scope so nothing surprises a homeowner mid-project. If the fix is small, we say so.
Which Materials Actually Hold Up in the Desert
If you’re planning a bathroom remodel in Las Vegas and want to avoid the troubleshooting cycle, the material selection matters more here than almost anywhere else. Our experience as a bathroom-only specialist is that certain choices perform dramatically better in this climate.
Grout
Epoxy or urethane grout in shower floors and lower walls outlasts cement grout in a hard-water market. Cement grout with a quality impregnating sealer is acceptable on the upper walls and floors in dry zones, but the shower interior is where the difference shows. Sterling’s tile field options pair well with epoxy grout in high-water zones.
Fixtures
Brands with replaceable, serviceable cartridges hold up best. Delta and Moen both build cartridges that are easy to service and widely stocked, which matters in a hard-water market. Toto and Kohler offer premium design and finish quality with their own parts pipelines. American Standard is a solid workhorse tier with replacement parts that are easy to source. The right fixture for your budget and your bathroom is usually the one with the simplest maintenance access.
Waterproofing Systems
Schluter’s bonded waterproofing and uncoupling systems have become the standard for bathrooms we build, because they address the exact failure modes this climate produces. The uncoupling membrane absorbs subfloor movement; the waterproofing membrane keeps water in the wet zone; the tile transitions handle the edges professionally. Built to last behind the walls, not just on the surface – that’s the design brief on every shower we install.
Ventilation
A properly sized exhaust fan vented to the exterior, ideally with a humidity sensor, is the single highest-value prevention step after waterproofing. A fan that vents into the attic is a builder shortcut we correct often.
How to Prevent Repeat Problems
The best troubleshooting is prevention. Here’s what we recommend to Las Vegas homeowners who want a bathroom that stays intact past the honeymoon phase.
- Address hard water at the source. A whole-house softener or a shower-point softener changes the operating conditions dramatically. It’s the single biggest lever.
- Design for movement. Specify an uncoupling membrane. Include movement joints in the tile layout. Subfloor preparation and deflection rating are the first thing to verify in a remodel plan.
- Vent the bathroom properly. A correctly sized fan vented to the exterior, run for 10-15 minutes after every shower.
- Seal grout and re-seal on a schedule. Impregnating sealer after installation and once a year thereafter is cheap insurance.
- Choose serviceable fixtures. When a cartridge fails on a serviceable fixture, the fix is small. When it fails on an exotic or discontinued one, the fix can require replacing the valve body.
- Document the build. Keep the fixture model numbers, grout specifications, and waterproofing details. It’s the difference between a clean warranty claim and a guess.
Our team at Dayspring Bath Remodeling focuses only on bathrooms, so we see the failure patterns in this climate nearly every day. If you’re planning a bathroom remodeling project in Las Vegas or considering a walk in shower, we’re happy to walk through the assembly and material choices in a free estimate.
Common Mistakes to Avoid
- Skipping the substrate inspection. Lay tile over a floor that moves more than the standard allows and it will crack – not because the tile is bad, but because the floor is not ready. Las Vegas homes have wide temperature swings that magnify this.
- Using cement grout in a shower and expecting it to last. Without a quality sealer and regular maintenance, hard water eats the grout surface within a year or two.
- Venting the fan into the attic instead of outside. We see this in older Vegas homes frequently. The fan runs, but the moisture goes into the attic and comes back into the living space. It doesn’t count as ventilation.
- Treating every drip as a warranty claim. In a hard-water city, cartridge wear is a maintenance item. The contractor and the manufacturer both handle this poorly when it’s not diagnosed first.
- Choosing a barely sufficient exhaust fan. A small fan for a large bathroom leaves steady moisture that eventually attacks grout, caulk, and drywall. Size the fan for the room.
- Skipping the waterproofing layer “just this once.” The most common assembly failure we correct is a shower built without a proper bonded membrane. It fails inside the walls before it fails visibly.
- Hiring a generalist because the bid was lowest. A remodel bid that skips the waterproofing, subfloor correction or movement joints isn’t a discount – it’s a problem scheduled for two years from now.
See the difference
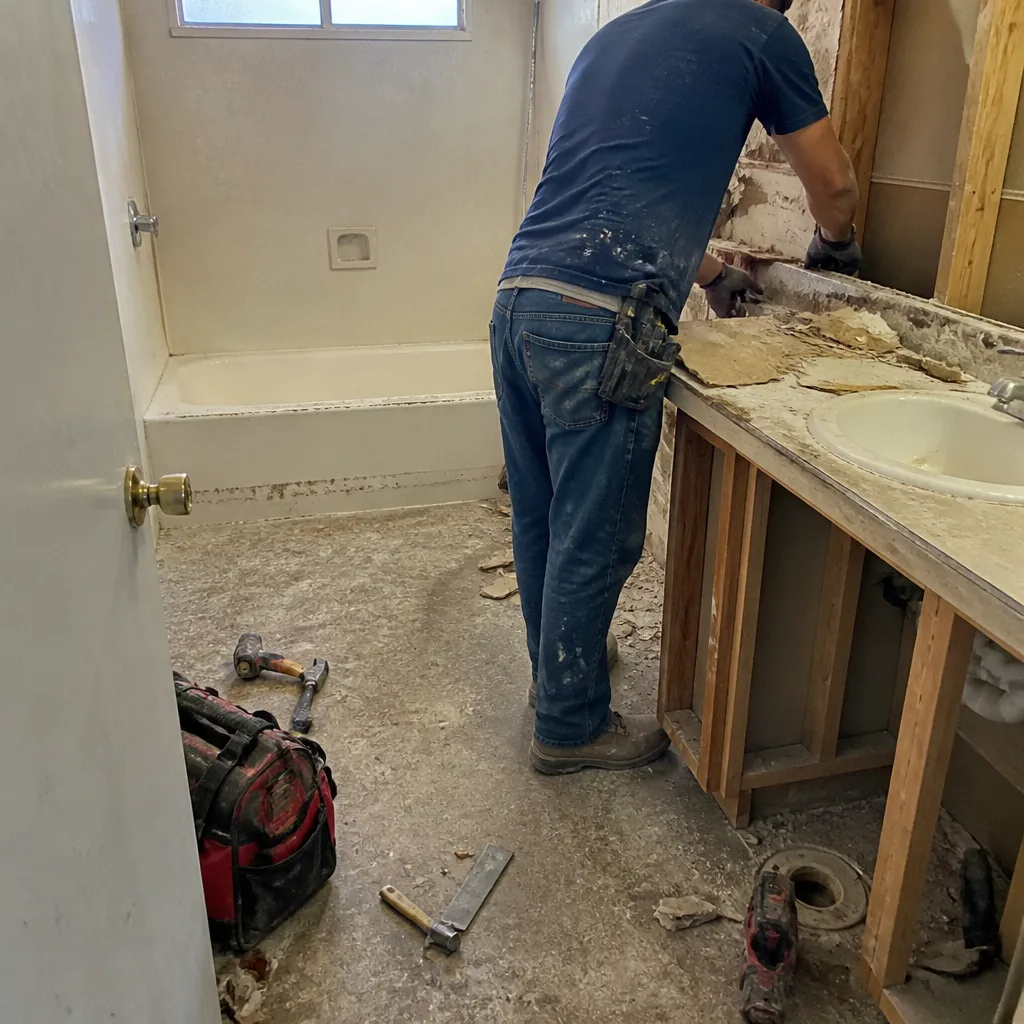 Before
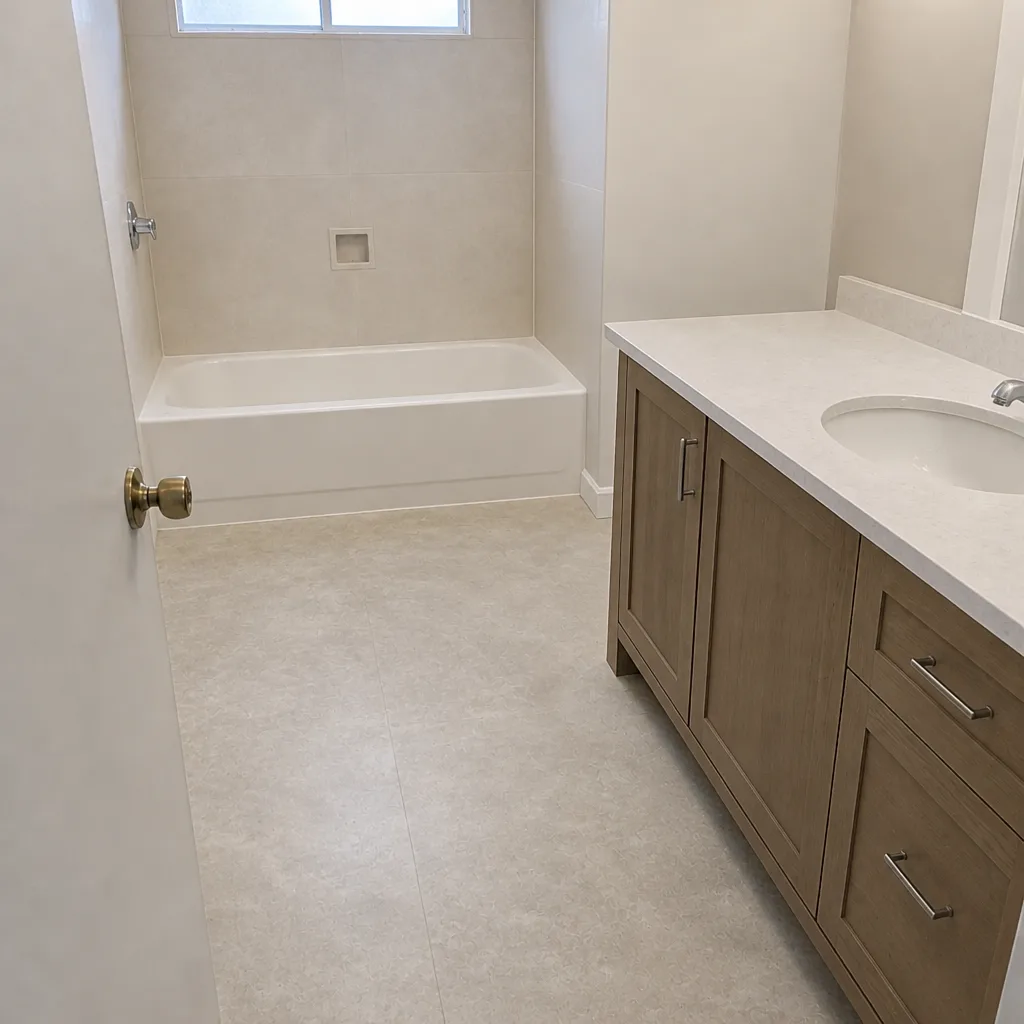 After
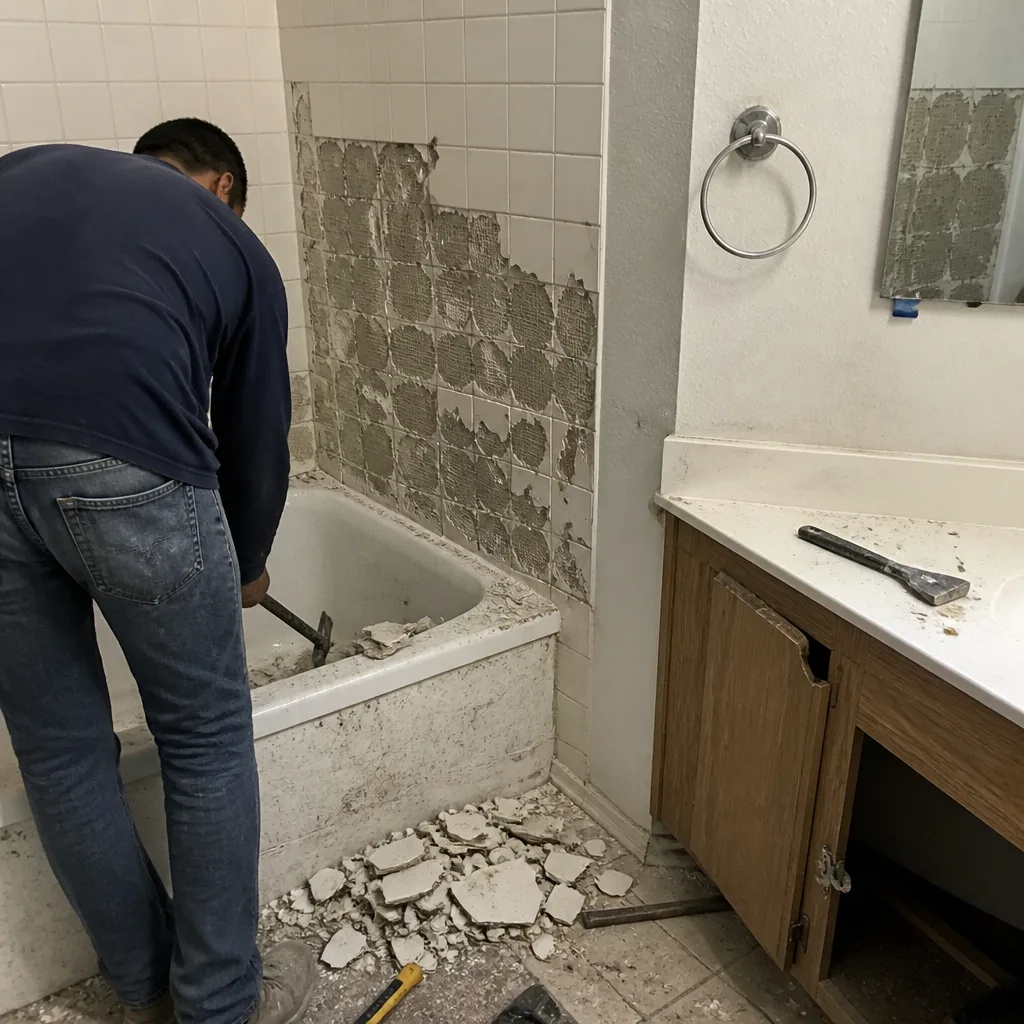 Before
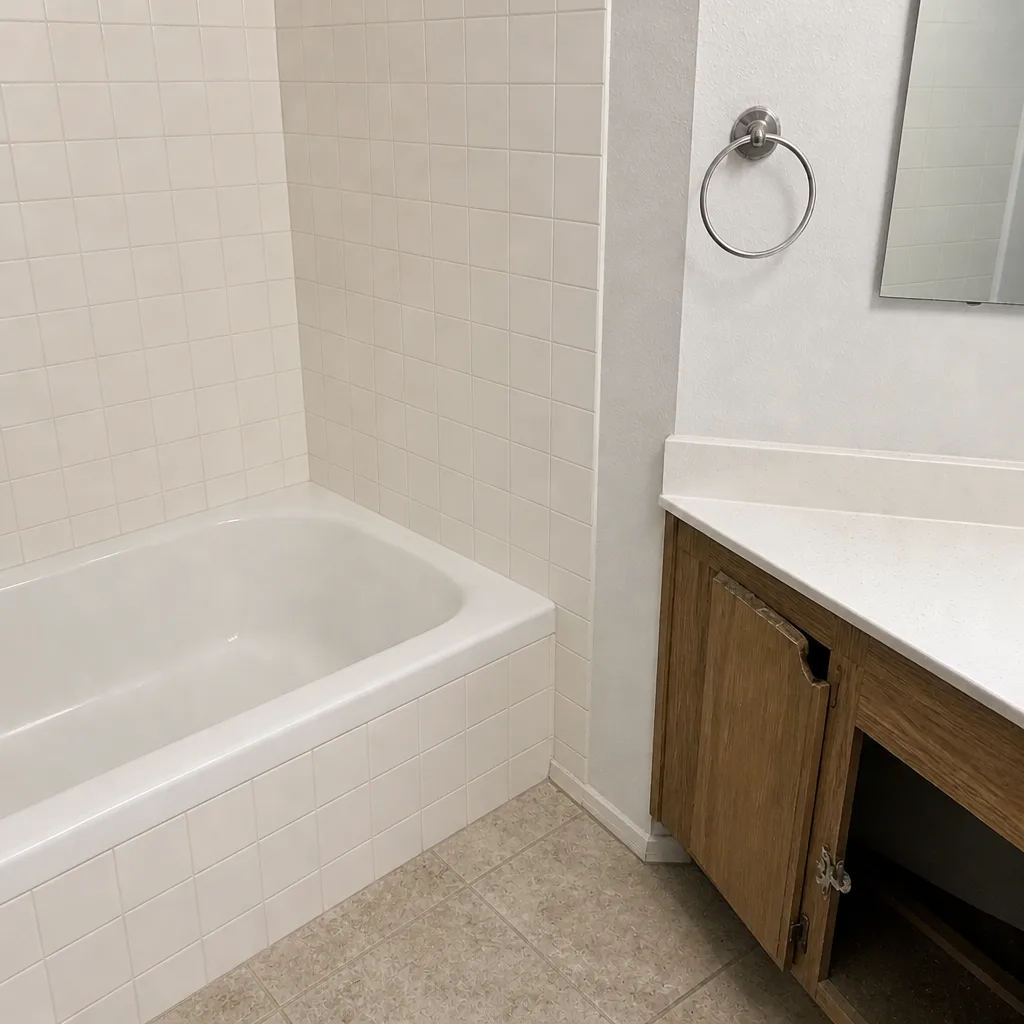 After
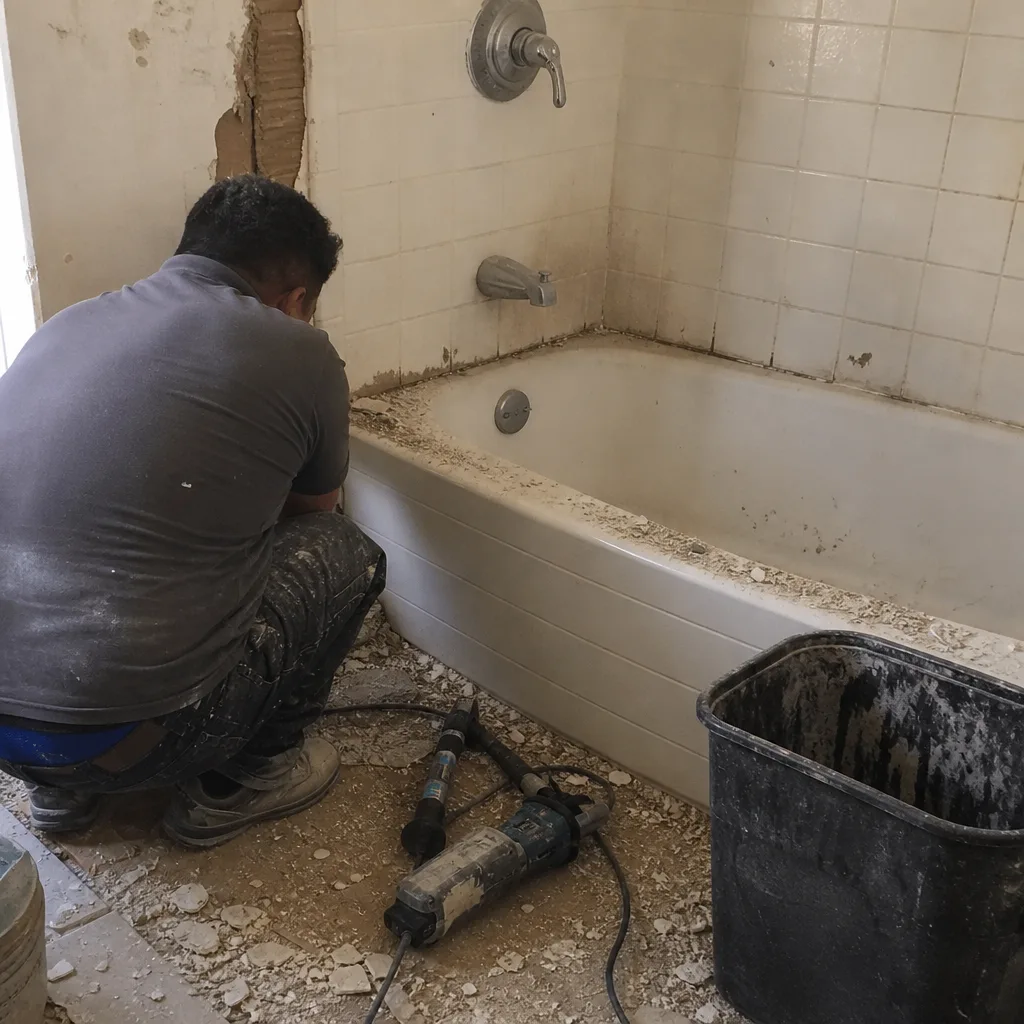 Before
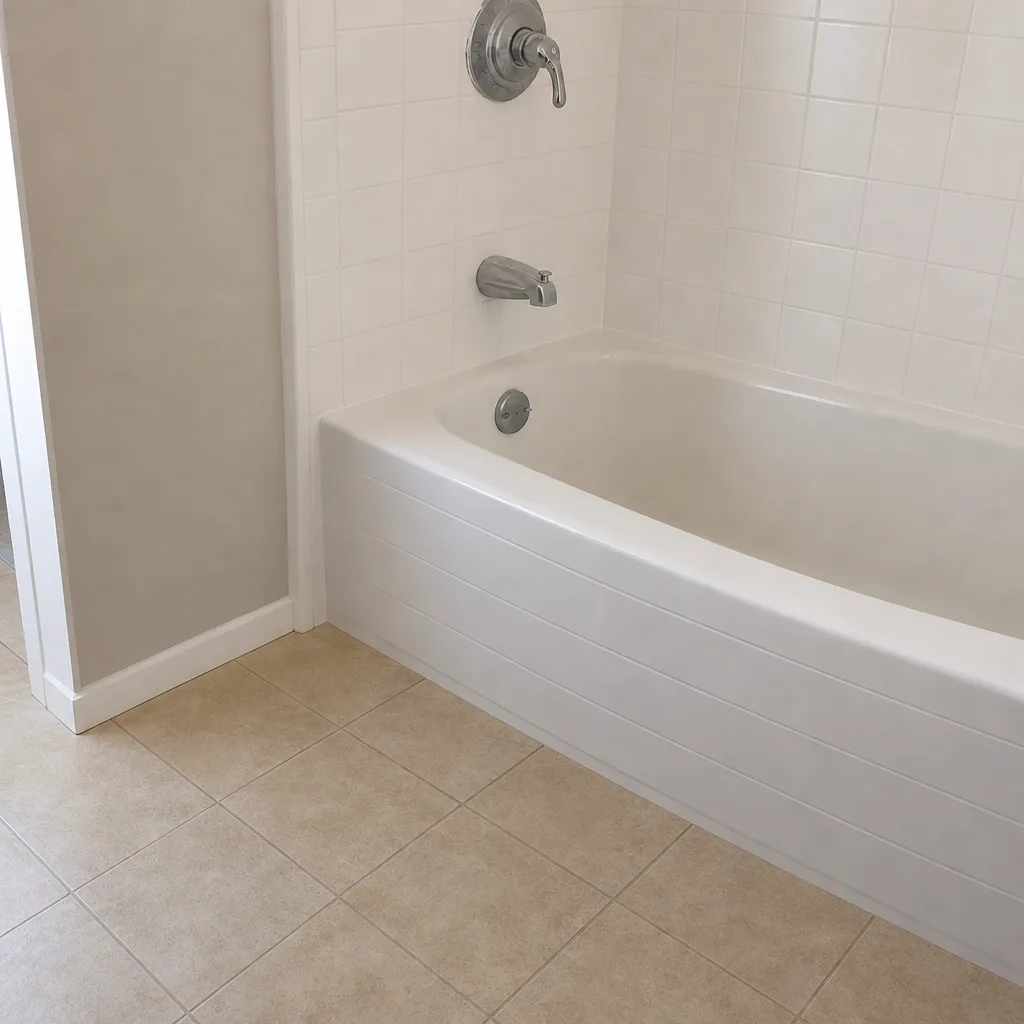 After
When to Call a Professional
Call a bathroom specialist when water is showing up where it shouldn’t – under a vanity, along a shower curb, at the base of a wall – or when tile is lifting, cracking or sounding hollow across more than a tile or two. Those are signs that the assembly behind the surface has failed, and surface-level patching won’t fix them. Also call when you’re planning a new project and want the assembly built right the first time, or when a previous remodel is showing the telltale signs of skipped waterproofing. Dayspring Bath Remodeling offers free estimates in Las Vegas – call (888) 393-8208. We answer 24/7. Fast dispatch from 7am to 7pm, Sunday through Friday. Our technicians have up to 10 years of experience working in Las Vegas bathrooms. Every project starts with a written estimate that sets the final price.
Frequently Asked Questions
Fixing post-remodel problems in Las Vegas ranges from a small service call for a grout touch-up or cartridge replacement up to a partial rebuild when waterproofing or tile assemblies have failed. Small repairs are quick and affordable; a failed shower pan or compromised tile assembly becomes a multi-day job. We price every job by written estimate so you see the full scope before work begins. Call (888) 393-8208 for an exact quote – estimates are free.
Surface-level grout discoloration is common in Las Vegas because the water is so hard, and it responds well to cleaning and sealing. What’s not normal is grout that crumbles, stays discolored after cleaning, or comes back within weeks. That points to moisture behind the tile rather than surface staining, and it calls for a professional inspection. Call (888) 393-8208 to schedule a free estimate.
No. We price each job with a written estimate, and that estimate sets the final price. If hidden conditions like a failed substrate or an undersized vent are uncovered once work starts, we stop and re-scope with you before doing anything that changes the price. Call (888) 393-8208 for a free estimate.
Yes. Most bathroom remodels that move plumbing, electrical or framing require a permit, and any change to a shower pan, drain or waterproofing assembly falls under that rule. We pull the required permits and follow the inspection requirements for the City of Las Vegas and Clark County, which is why we ask for a scope conversation before starting. Call (888) 393-8208 for details on your project.
Small fixes like cartridge replacement or regrouting usually take a visit or two. A failed shower pan or compromised tile assembly can’t be responsibly patched – the assembly has to be opened, corrected, re-waterproofed and re-tiled, which is a multi-day job. We give an honest timeline with the written estimate. Call (888) 393-8208.
Repair is usually the smarter path when the underlying assembly is sound. If the waterproofing and substrate were done correctly, cosmetic fixes are affordable and effective. If the assembly itself was compromised – no uncoupling membrane, no bonded waterproofing, wrong drain slope – a partial rebuild is the better investment because patching repeats the failure. Call (888) 393-8208 to schedule a free assessment.
We work with eight name-brand fixture lines, so we’re not limited to one option. Our lineup spans from accessible, serviceable standards to premium fixtures, which means we can recommend what fits your bathroom and your budget rather than steering you toward whatever’s on hand. That range includes American Standard, Delta, Toto, Sterling, Moen, Kohler, Grohe and Schluter. Call (888) 393-8208.
Hard water can’t be eliminated, but its effect can be managed. A water softener or shower-point softener upstream of the bathroom is the biggest lever, followed by epoxy or urethane grout in the wet zone, a quality sealer, and serviceable fixtures. With those in place, most hard-water problems become routine maintenance rather than repeated repairs. Call (888) 393-8208 for a free estimate.
The Bottom Line
Bathroom problems after a remodel in Las Vegas aren’t random. They’re the predictable result of hard water at 250+ mg/L, desert temperature swings that move subfloors, and installation shortcuts that skip waterproofing or subfloor correction. Diagnose the problem into the right category – fixture defect, installation error or site condition – before spending money on a fix. When problems surface, surface-level patches are fine if the assembly underneath is sound, and a professional opening up the tile is the right answer when it isn’t. A specialist can usually tell you which you’re dealing with in an hour. Written estimates from a bathroom-only specialist are free.
Written by the team at Dayspring Bath Remodeling.