
Last updated November 18, 2026








Free in-home design visit - walk-in showers, tub-to-shower conversions, and Kohler, Moen, and Delta fixtures planned to your exact space
Bathroom Remodeling Maintenance Schedule: What to Do and When
Most homeowners get handed a “congratulations on your new bathroom” and nothing else. That silence is expensive. A bathroom isn’t a static object you install once and forget. It’s a system of materials, finishes, and fixtures, and each part has its own service interval. In Las Vegas, those intervals compress. Low humidity pulls moisture from caulk and grout until they crack. Hard water loads every aerator and showerhead with mineral scale. Extreme summer heat cycles materials between expansion and contraction. A bathroom that’s ignored here can look five years old after two. This guide gives you the full maintenance calendar, fixture by fixture and month by month, so your remodel holds its finish and its function.
Quick Answer
A bathroom remodel needs a tiered maintenance schedule: inspect caulk and grout joints every six months, descale showerheads and aerators every two to three months in Las Vegas hard water, clean exhaust fans quarterly, and have a professional assess tile, waterproofing, and fixture seals annually. Fixture-specific care for brands like Toto, Grohe, and Kohler follows its own rhythm on top of that baseline.
Styles & brands we work with
- Walk-in shower
- Tub-to-shower
- Freestanding tub
- Kohler
- Moen
- Delta
- Frameless glass
Table of Contents
- Why Las Vegas Conditions Shorten Every Maintenance Timeline
- The Annual Bathroom Maintenance Calendar
- The Hard Water Protocol: Descaling Before It Becomes Structural
- How to Inspect Grout and Caulk Joints: A Simple Checklist
- Fixture-Brand-Specific Maintenance: Toto, Grohe, Kohler, and More
- Waterproofing and the Schluter Difference
- What Voids a Fixture Warranty Through Neglect
- When Maintenance Becomes a Remodel
Why Las Vegas Conditions Shorten Every Maintenance Timeline
Las Vegas sits in one of the driest climates in the country. Average humidity hovers in the low teens and single digits for much of the year. That sounds good for a bathroom. It isn’t. Low humidity pulls moisture out of caulk and grout continuously, causing them to shrink, harden, and crack faster than in humid climates. A caulk joint that might last three years in a coastal city can fail in half that time here. That’s why we tell homeowners in Las Vegas to inspect caulk every six months, not every two years like the generic advice suggests.
The second factor is water chemistry. Las Vegas municipal water carries high mineral content. Calcium and magnesium build up on showerheads, aerators, drain surrounds, and glass doors. Left alone, that scale becomes a hard crust that traps moisture against surfaces, stresses fixtures, and eventually requires replacement rather than cleaning. The third factor is heat. Summer temperatures over 110°F cause materials to expand and contract through wide swings, putting stress on tile grout lines, sealant joints, and fixture connections.
Put those three forces together and you get a maintenance reality that no general contractor warns you about. The schedule in this guide accounts for all three.
The Annual Bathroom Maintenance Calendar
Here’s the full year at a glance. Treat this as a baseline: adjust upward if your bathroom sees heavy daily use or you have very hard water at your tap.
- January (post-holiday check): Inspect all caulk joints around the tub, shower, sink, and base. Look for cracking, shrinkage, or separation. Re-caulk any joint that’s pulling away.
- February: Descale showerheads and faucet aerators. Soak removable parts in a 50/50 white vinegar and water solution for 30 minutes, then rinse. Check drain flow.
- March (spring assessment): Clean the exhaust fan housing and grille. Check that the fan runs quietly and pulls air strongly. Inspect grout lines throughout the shower and floor for cracks or darkening.
- April: Inspect the toilet for leaks at the base and supply line. Check the flapper and fill valve. Replace the flapper if it’s warped or stiff.
- May: Deep-clean glass shower doors and tiles with a non-abrasive descaler. Inspect the shower door seal or sweep for wear.
- June: Mid-year caulk re-check before summer heat peaks. Touch up any joint that’s starting to pull. Check all supply lines and shut-off valves for corrosion.
- July: Descale again. Summer scale builds fastest when humidity drops and water evaporates on surfaces, leaving minerals behind. Check the drain surround and grout ring around it.
- August: Inspect the tub-to-shower transition or the shower threshold for any signs of water wicking or efflorescence (white mineral bloom).
- September (pre-fall assessment): Second full grout and caulk inspection. This is the big one. Walk every joint. Tap tiles lightly to listen for hollow spots.
- October: Clean the exhaust fan again. Check that it’s venting outside, not into the attic. Test all fixture shut-off valves by turning them a quarter turn and back.
- November: Descale third pass. Inspect all fixture finishes for pitting or dulling. Check the toilet for rocking or loose floor bolts.
- December: Year-end review. Photograph the whole bathroom for your records. Anything you flagged in the year that’s gotten worse goes on the list for professional assessment.
Notice that caulk gets checked twice a year, descaling happens three times, and the exhaust fan gets cleaned twice. That’s not arbitrary. Those frequencies reflect how fast each item degrades under Las Vegas conditions.
The Hard Water Protocol: Descaling Before It Becomes Structural
Hard water is the single biggest maintenance challenge in a Las Vegas bathroom. It’s also the one most homeowners ignore until something breaks. Scale doesn’t just look bad on a showerhead. It narrows the flow channels, increases pressure on internal components, and can cause a fixture to fail years before its rated life.
Here’s the descaling protocol we recommend for every bathroom in Las Vegas:
- Showerheads (every 2-3 months): Remove the showerhead if possible. Soak in equal parts white vinegar and water for 30 minutes. Rinse thoroughly. For fixed rain heads, fill a plastic bag with the solution and secure it over the head with a rubber band. Run water for 30 seconds after.
- Faucet aerators (every 2-3 months): Unscrew the aerator with your fingers or a cloth-wrapped wrench. Soak in vinegar solution. Scrub the screen with an old toothbrush. Reinstall and run both hot and cold water.
- Drain surrounds and grates (monthly): Remove the drain grate if it’s removable. Scrub the surround with a mild descaler. Check for mineral buildup around the edges that could trap moisture.
- Glass shower doors and tile (every 3-4 months): Use a squeegee after every shower to slow scale adhesion. Deep-clean quarterly with a non-abrasive descaler. Avoid anything that scratches the glass coating.
- Toilet bowl and rim jets (monthly): Mineral buildup clogs rim jets and reduces flush performance. Scrub under the rim with a pumice-safe cleaner or a vinegar solution. Never use chlorine tablets in the tank; they degrade the rubber seals and void most fixture warranties.
If you’ve never descaled a fixture and it’s been years, the scale may already be fused to the surface. In that case the fixture often needs replacement rather than cleaning. This is where a bathroom specialist can tell you the difference between a cleaning issue and a replacement issue, rather than guessing.
How to Inspect Grout and Caulk Joints: A Simple Checklist
Caught early, a failed caulk joint is a ten-dollar fix. Caught late, it means water has been sitting behind tile for months, and you’re looking at a partial tear-out. This checklist takes about 15 minutes and should be run twice a year.
- Look at every caulk joint in the bathroom. That means the tub-to-wall joint, the shower-to-floor joint, the sink-to-counter joint, the shower base perimeter, and any joint around fixtures or glass panels.
- Press each joint with a dry fingertip. Good caulk should feel slightly flexible and springy. If it feels hard, crumbly, or cracks when you press, it needs replacement.
- Check for dark discoloration behind or under the caulk. Mildew staining that persists after cleaning usually means moisture is getting behind the joint.
- Scan grout lines in the shower and floor. Look for cracks, missing grout, or grout that’s darkened in patches. Darker grout often means it’s holding moisture.
- Tap tiles with a coin or your knuckle. A hollow, dull sound versus a solid, sharp sound can indicate a tile that’s come loose from its thin-set, which is a sign water has been getting behind it.
- Check the shower base and threshold. Any softness, flex, or visible separation at the threshold is a warning sign. Water that reaches the subfloor or framing is no longer a maintenance issue.
- Look up at the ceiling below the bathroom, if accessible. Any stain or moisture ring under the floor above is a direct signal that waterproofing has been compromised.
If caulk has failed, that’s a straightforward re-caulk, and many homeowners do it themselves: remove the old caulk fully, clean the joint with a bathroom-safe cleaner, let it dry completely, and apply a fresh bead of 100% silicone bathroom caulk. If grout has failed anywhere near the shower base, the drain, or the threshold, the risk of water intrusion behind the tile is real. That’s a specialist assessment, not a maintenance task. In Las Vegas, the dry air can make a failed joint look less dramatic than it does in humid climates, so you have to look for the physical signs rather than wait for visible water.
Fixture-Brand-Specific Maintenance: Toto, Grohe, Kohler, and More
Every fixture brand builds its products differently, and each has its own care requirements. Generic guides tell you to “clean regularly.” That’s not useful. Here’s how the specific brands in a Dayspring bathroom actually want to be treated.
Toto bidet seats and washlets
Toto bidet seats and washlets have a water filter and a nozzle assembly that need periodic attention. Most models have a filter screen near the water inlet that should be checked and cleaned every six months, or more often if Las Vegas hard water is heavy. The wand nozzle should be cleaned according to the manufacturer’s instructions; many Toto models have a self-cleaning nozzle, but the seat and bowl still benefit from a soft-cloth wipe with a mild cleaner. Never spray water or cleaner directly into the control panel or the electrical housing. Check the cord and outlet for strain or moisture exposure. If the seat’s water pressure drops noticeably, the filter or nozzle inlet is usually the cause, not the unit itself.
Grohe thermostatic valves
Grohe thermostatic valves mix hot and cold water at a precise temperature, and they depend on internal cartridges and filters to do that. Hard water is the enemy of a thermostatic valve. If the temperature fluctuates or the valve stiffens, mineral scale or debris is likely clogging the thermostatic cartridge. Annual professional temperature calibration and a check of the inlet filters will keep a Grohe valve reliable for its full service life. Homeowners can keep it clean externally with a soft cloth and mild soap; don’t force a stiff control handle, which can damage the internal element.
Kohler cast iron and vitreous china
Kohler cast iron tubs and sinks have a thick enamel coating over solid iron. That enamel is tough, but it can chip if something heavy is dropped on it, and it can dull if you use abrasive cleaners. Clean with a non-abrasive bathroom cleaner and a soft cloth. Avoid steel wool, scouring pads, and any cleaner that lists “abrasive” on the label. Kohler’s vitreous china toilets and sinks are similarly durable but can be damaged by harsh chemical drain cleaners, which can crack the glaze and damage internal seals. Use a plunger or a drain snake before reaching for a chemical cleaner.
American Standard and Sterling
American Standard toilets and faucets are straightforward to maintain: replace worn flappers annually, check supply line connections, and clean aerators regularly. Sterling shower surrounds and bases benefit from a regular wipe-down with a non-abrasive cleaner and a periodic check of the caulk line at the base perimeter. Both brands rely on proper caulking and sealing to protect the structure behind them, so the joint inspection checklist above is essential here.
One thing holds across every brand we work with: never use a cleaner you wouldn’t use on your own hands without gloves. Chlorine-based and acid-based products can pit finishes, attack rubber seals, and degrade plastic components. Milder is almost always better for long-term durability.
Waterproofing and the Schluter Difference
Everything in the maintenance schedule above protects finishes and fixtures. But behind those finishes sits the waterproofing system, and that’s what determines how long your remodel truly lasts. In a shower, the waterproofing layer is what stops water from reaching the framing, the subfloor, and the drywall on the other side. If it’s done right, it’s essentially permanent. If it’s done wrong or maintained poorly, it’s the source of the most expensive damage a bathroom can suffer.
At Dayspring, we build with Schluter Systems waterproofing as part of our core process. Schluter products create a continuous bonded waterproof layer behind the tile, including at the joints, corners, and the drain connection. That’s not a marketing detail. It’s the specific step most general contractors skip, because it takes more time and more product knowledge. When we install a Schluter system correctly, the maintenance work behind the walls is much smaller. The homeowner’s job then centers on keeping the exposed tile and caulk joints sound, so water never gets a chance to reach the waterproofing membrane in the first place.
In our experience, most of the failures we’re asked to assess in Las Vegas come down to one of two problems: a waterproofing layer that was never properly continuous, or a caulk joint that failed years ago and was never re-sealed. Both are far less costly to address on the front end than after water has reached the structure. If your bathroom was built with a proper waterproofing system, your annual maintenance is about keeping the joints sealed and the fixtures clean. If it wasn’t, an annual professional assessment will catch the early signs before they become structural. That’s the difference between maintaining a bathroom and constantly repairing it.
What Voids a Fixture Warranty Through Neglect
Most fixture warranties cover defects in materials and workmanship. They don’t cover damage from neglect, improper cleaning, or poor installation conditions. The distinction matters because a fixture failure that could have been prevented by maintenance is usually on the homeowner, not the manufacturer.
Here’s where the major brands generally draw the line:
- Delta: Finishes are typically warranted against tarnish and corrosion under normal use, but damage from abrasive cleaners, harsh chemicals, or hard water scale that’s left to build up is generally excluded. The internal cartridge may be covered, but if the failure is due to debris or mineral buildup from not cleaning the aerator or filter, the warranty claim can be refused.
- American Standard: China and enamel finishes are warranted against manufacturing defects. Chips, cracks, and damage from chemical drain cleaners are excluded. Warped flappers and worn internal parts from lack of maintenance are considered normal wear rather than defects.
- Moen: Moen’s finish warranties are similarly conditional on proper care. The company is generous with cartridge replacement under warranty, but not if the failure is caused by scale, debris, or improper installation. Using an abrasive cleaner on a Moen finish or ignoring a leak at a supply connection can void the finish warranty claim.
For Toto, Grohe, and Kohler, the pattern is consistent: the manufacturer covers the product’s manufacturing quality, not the homeowner’s maintenance routine. Regular descaling, filter cleaning, and joint inspection is what keeps a fixture inside its warranty coverage rather than pushing it into “neglect” territory. Keep records. Save the model numbers and installation documentation. If a fixture fails, a maintenance record showing routine care supports a warranty claim.
If you’re unsure whether your fixture’s issue is a warranty matter or a maintenance matter, that’s a good question to bring to us. We install and work with eight fixture and systems brands: Kohler, Moen, Delta, American Standard, Toto, Schluter, Sterling, and Grohe. We know the care requirements for each, because bathroom fixtures are the only thing we work with.
If you’re planning a Dayspring Bath Remodeling project and want to understand the maintenance plan from day one, that’s part of how we approach the design. And if you’re in Las Vegas and considering a bathroom remodeling project or a walk in shower build, our team can walk you through both the build and the maintenance schedule that follows it.
When Maintenance Becomes a Remodel
There’s a point where the list of maintenance items stops looking like a to-do list and starts looking like a remodel plan. That’s not failure. It’s just the natural life cycle of a bathroom. The question is recognizing the threshold.
Here are the signs that it’s time to call a specialist rather than schedule another repair:
- Recurring tile or grout failure. If grout keeps cracking in the same area after re-grouting, the problem is usually behind the tile, not in the grout itself.
- Water stains on the ceiling below the bathroom. This is a waterproofing issue, not a maintenance item. It needs professional assessment and likely a partial tear-out.
- Mold or mildew that returns after cleaning. Persistent mold in a Las Vegas bathroom, where humidity is low, usually signals trapped moisture behind a surface.
- Multiple fixture failures in a short window. If two or three fixtures fail within a year or two of each other, it may be time to evaluate the whole bathroom rather than replacing pieces.
- An outdated layout that no longer fits your needs. If a tub-to-shower conversion or a walk-in shower would serve you better, a maintenance schedule can only delay the inevitable. At that point, the Las Vegas bathroom remodeling market has plenty of options and a specialist will help you choose the right one.
When a maintenance item becomes larger than a simple repair, that’s the point to call a specialist rather than a generalist. A bathroom-only contractor sees the same failure modes every week and understands the difference between a cosmetic fix and a structural one.
Common Mistakes to Avoid
- Waiting for visible water before addressing a failed joint. In Las Vegas’s dry air, water behind tile often evaporates before it shows through. The moisture damage is real long before you see a stain.
- Using abrasive cleaners on Kohler enamel or Grohe finishes. Scouring pads and harsh chemicals dull finishes and void the conditions of most fixture warranties. A soft cloth and mild cleaner is always the safer choice.
- Skipping the descaling schedule because the showerhead still works. By the time flow drops noticeably, the internal scale is already decades ahead of a cleaning fix. Descale on schedule, not on failure.
- Assuming a waterproofing membrane can be patched externally. Waterproofing is a continuous system that sits behind the tile. It can’t be repaired from the surface. If you suspect the membrane is compromised, get it assessed.
- Never checking the exhaust fan. In a bathroom, the exhaust fan removes moisture and prevents long-term damage. A fan that’s not running or not venting outside leaves moisture in the room and accelerates everything on this schedule.
- Ignoring the tub-to-shower conversion question. Many homeowners maintain a failing tub for years when a tub-to-shower conversion would solve both an aging tub and a safety concern. It’s a valid path forward, not a last resort.
- Not knowing which fixture brand you have. Every fixture has different care requirements. Save your model numbers and manuals; they’re the starting point for any maintenance or warranty conversation.
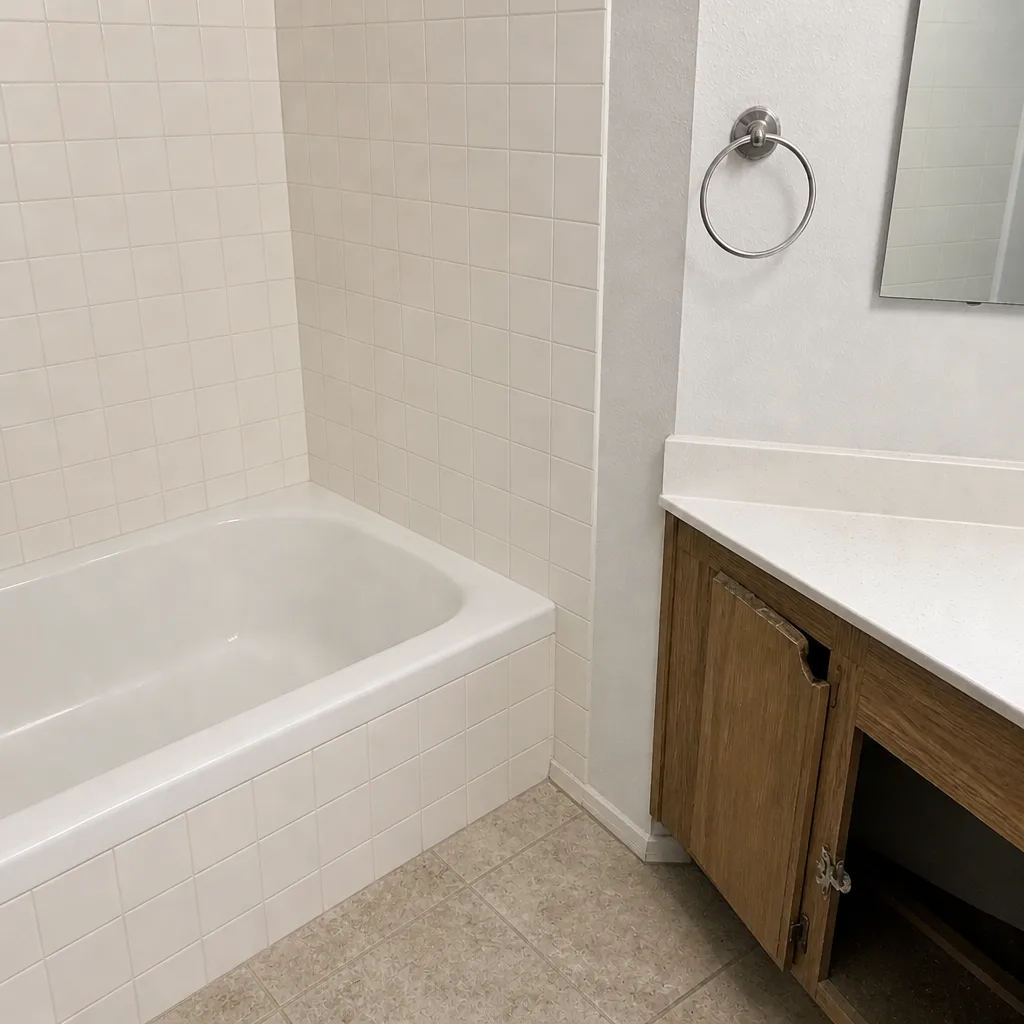
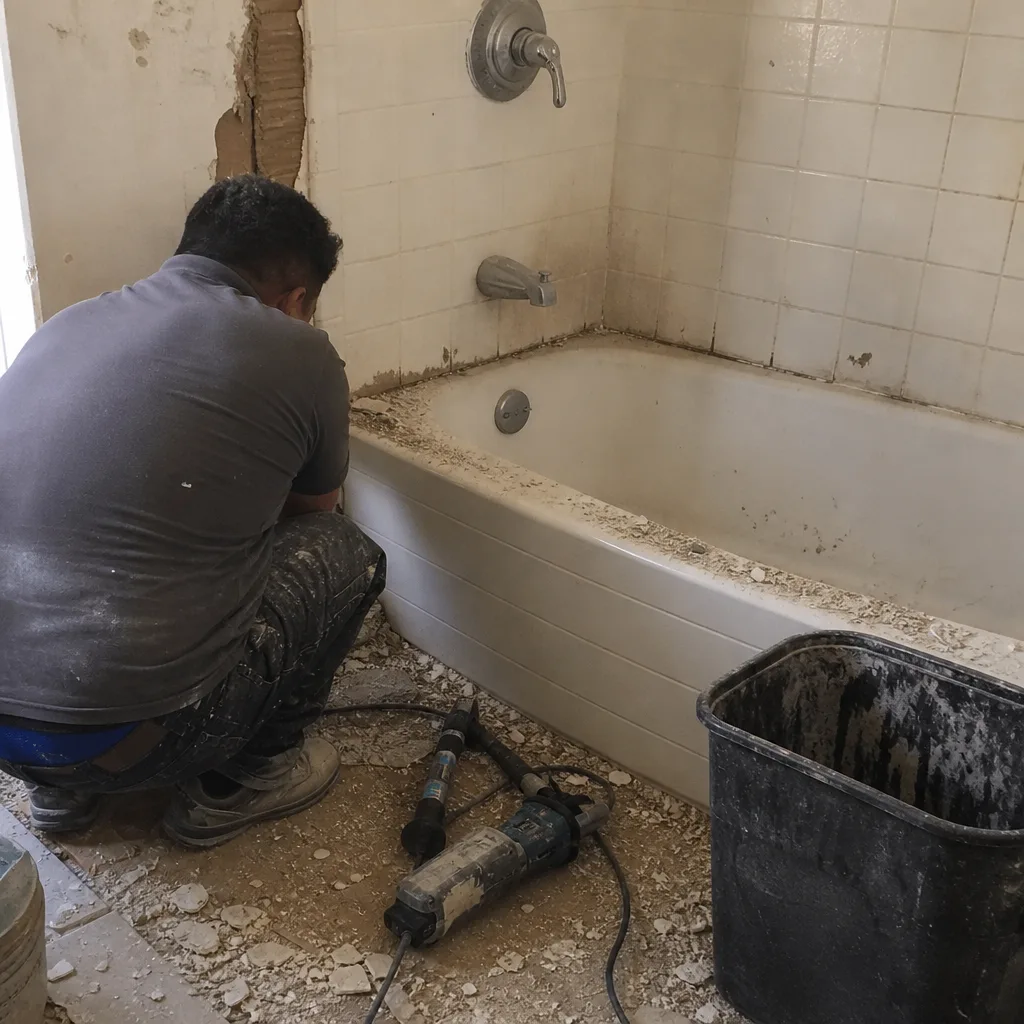
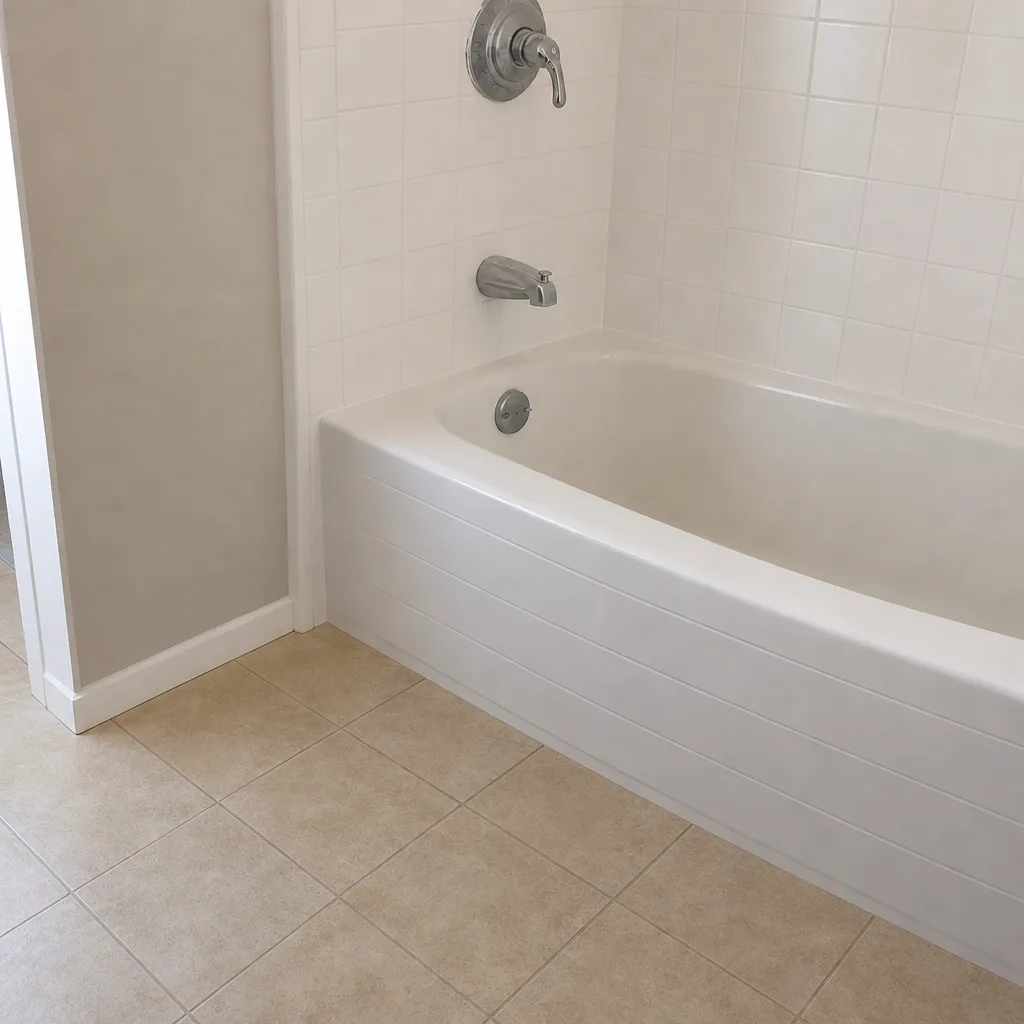
See the difference
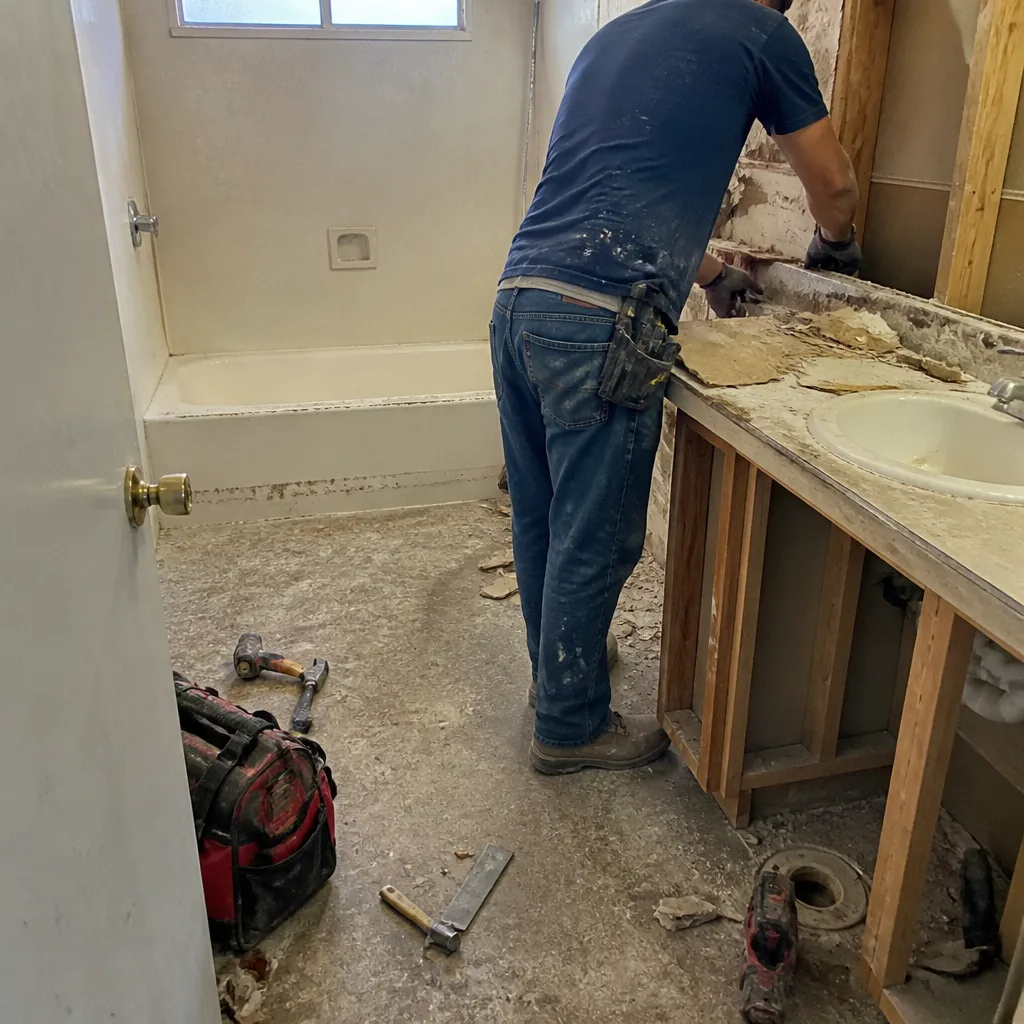 Before
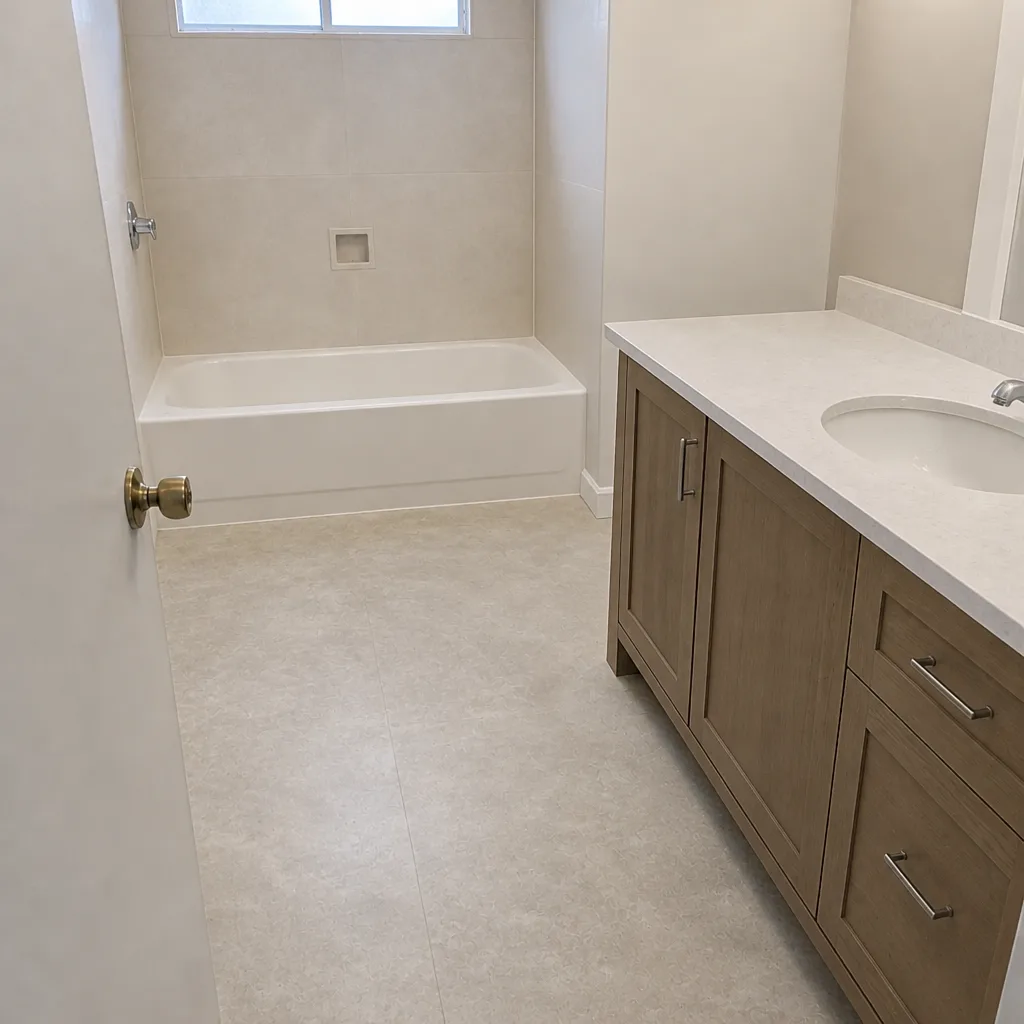 After
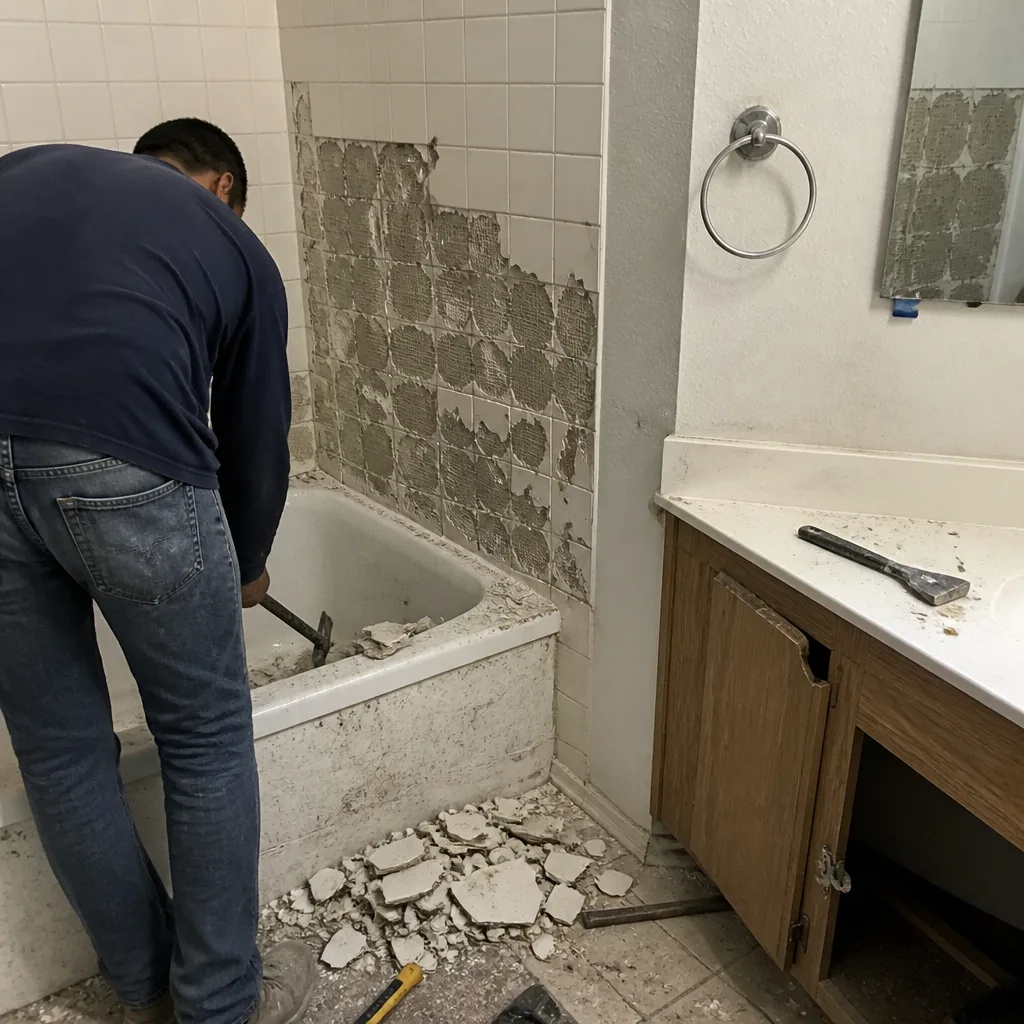 Before
 After
 Before
 After
When to Call a Professional
Call a professional when the item on your list involves anything behind the surface: tile that’s come loose, grout that keeps failing in the same spot, a waterproofing question, a shower drain issue, or a fixture failure you can’t diagnose. Call us when you’re considering a tub-to-shower conversion, a walk-in shower install, or a full remodel and you want to understand the maintenance plan that follows the build. Call us when a warranty claim is uncertain and you want an informed opinion. Dayspring Bath Remodeling offers free estimates in Las Vegas. Call (888) 393-8208. We answer 24/7. Fast dispatch from 7am to 7pm, Sunday through Friday.
Frequently Asked Questions

Every six months in Las Vegas, compared to every two to three years in humid climates. The dry desert air pulls moisture from caulk and causes it to crack and shrink faster than it would elsewhere. Inspect all joints in spring and fall, and re-caulk any joint that’s hardened, cracked, or pulling away from the surface.
Every two to three months for most Las Vegas homes. Soak removable showerheads in a 50/50 white vinegar and water solution for 30 minutes, then rinse and run water. For fixed showerheads, use a bag secured over the head. If the flow has dropped noticeably and descaling doesn’t restore it, the fixture may need replacement.
Cosmetic grout issues like a cracked line in the middle of an intact area can often be re-grouted by a careful homeowner. Grout that fails repeatedly in the same spot, crumbles near the shower base or drain, or is accompanied by loose tiles is a specialist job. That pattern usually means water is getting behind the tile, and the fix is more than surface grout.
Improper cleaning and neglect are the most common causes. Abrasive cleaners can void a finish warranty. Failure traced to mineral scale or debris because the aerator and filters weren’t cleaned is generally treated as neglect, not a manufacturing defect. Keep your maintenance records and save your model numbers; they support a warranty claim if a fixture fails.
Clean the filter screen every six months, or more often with heavy Las Vegas hard water. Use the manufacturer’s cleaning instructions for the nozzle and seat surface. Never spray water or cleaner directly into the control panel or electrical housing, and check the cord and outlet regularly for strain or moisture exposure.
Every three to six months. Open the cabinet and look and feel for moisture around the supply lines, the P-trap, and the shut-off valves. A slow leak under a sink can damage the cabinet base and the floor without leaving visible evidence above. If you see corrosion or a drip, address it before it becomes a larger repair.
The Bottom Line
A bathroom remodel is a system you maintain, not a product you install and forget. In Las Vegas, that maintenance runs faster than the national average because of the dry air, hard water, and extreme heat. Caulk twice a year, descale every two to three months, clean the exhaust fan quarterly, and inspect grout and waterproofing annually. Keep each fixture brand on its own schedule. When something crosses from maintenance into repair, that’s the moment to call a bathroom specialist rather than a generalist. Your bathroom is built from the drain up, and its longest life depends on the routine that follows the build.
Ready to talk about your bathroom? Call (888) 393-8208 for a free estimate. We answer 24/7. Fast dispatch from 7am to 7pm, Sunday through Friday. We’re closed Saturday. Our technicians have up to 10 years of experience, and bathroom remodeling is all we do.
Written by the team at Dayspring Bath Remodeling.