Last updated November 18, 2026








Free in-home design visit - walk-in showers, tub-to-shower conversions, and Kohler, Moen, and Delta fixtures planned to your exact space
Bathroom Remodeling Maintenance Checklist for Las Vegas Homeowners
Most post-remodel maintenance checklists are written for temperate climates, and they quietly fail here. Las Vegas water is hard enough to leave visible mineral etching on fixtures and shower glass within about 18 months of a remodel, and the desert’s UV load and dry heat crack caulk and sealant faster than most national guides assume. None of that means the work was poor. It means nobody handed the homeowner a maintenance plan for this climate. That’s what this guide is: a room-by-room, season-by-season checklist built around mineral deposits, UV degradation, and the failure points specific to a desert home, so the investment you made in your bathroom holds up. We’ll cover hardness numbers, resealing schedules, fixture care by brand, and the ventilation checks that matter most in Las Vegas.
Quick Answer
Maintain a Las Vegas bathroom remodel by treating hard water, UV, and dry heat as the three main enemies: wipe fixtures and glass after showers, clean with a mild acid descaler weekly, inspect caulk and sealant every few months instead of yearly, run the exhaust fan long enough to clear humidity, and reseal tile, grout, and stone on a seasonal schedule tied to temperature swings. These tasks protect the fixtures, waterproofing, and finishes that make a remodel last.
Styles & brands we work with
- Walk-in shower
- Tub-to-shower
- Freestanding tub
- Kohler
- Moen
- Delta
- Frameless glass
Table of Contents
- Why Las Vegas Water Changes the Maintenance Math
- Monthly Limescale Prevention for Fixtures and Glass
- Caulk and Sealant Inspection Intervals in Desert Heat
- Maintaining Delta, Kohler, and Toto Fixtures After Install
- Ventilation Fan Checks for Desert Humidity Swings
- Seasonal Tile and Stone Resealing Schedule
- Your Las Vegas Bathroom Maintenance Calendar
- Common Mistakes to Avoid
Why Las Vegas Water Changes the Maintenance Math
Las Vegas water is hard, and it’s the single biggest reason a bathroom here ages differently than the same bathroom in a softer-water city. Hardness is measured in grains per gallon, or GPG. Water above roughly 7 GPG is considered hard; water in the high teens and above is very hard. Las Vegas water commonly runs in the hard-to-very-hard range, and that matters because hardness is essentially dissolved calcium and magnesium. When water evaporates off a fixture, those minerals stay behind as a white, chalky film that eventually hardens into scale.
That scale doesn’t just look bad. It etches glass, dulls brushed and polished metal finishes, stains grout, and builds up inside showerheads and faucet aerators until flow drops. In a remodel, it can attack the two most expensive surfaces in the room: the shower glass and the tile.
- Shower glass: mineral film bonds to glass and, left alone, becomes permanent etching that no cleaner fixes. A squeegee and weekly descaler are the whole defense.
- Grout and stone: hard water reacts with grout and with calcium-based stone, which is why sealing schedule matters more here than in soft-water markets.
- Metal finishes: spotting and film are cosmetic at first. Over time, mineral buildup traps moisture against the finish and dulls it.
- Fixtures and valves: scale in aerators and showerheads cuts performance and puts strain on cartridges and valve internals that a bathroom remodeling project just paid to replace.
If you want to know your exact hardness, most municipal water reports list it, and a simple test strip gives you a ballpark. Knowing your number tells you how aggressive your cleaning and sealing routine needs to be. Very hard water means weekly descaler, not monthly.
Monthly Limescale Prevention for Fixtures and Glass
Limescale prevention in a Las Vegas bathroom comes down to three habits: dry surfaces after every use, descale weekly with a mild acid cleaner, and keep scale from ever getting a foothold. Prevention is far cheaper than removal, and far cheaper than replacing etched glass or a scaled-out fixture.
Here’s a simple monthly routine that keeps hard-water damage to a minimum:
- Daily (30 seconds): squeegee shower glass and wipe down fixtures after the last shower of the day. The fewer minerals that dry on the surface, the less there is to descale.
- Weekly: spray shower glass and tile with a mild acid descaler (look for citric-acid or weak-acid bathroom cleaners) and let it dwell a few minutes before rinsing. Avoid abrasive pads on glass and finishes.
- Monthly: remove showerheads and faucet aerators, soak them in a descaler solution, and rinse. This clears internal mineral buildup and restores flow.
- Monthly: check the base of faucets, the shower valve trim, and the toilet tank connections for the first sign of white crust. Early scale wipes away; old scale does not.
- Quarterly: give stone and sealed grout a gentle deep clean with a pH-neutral cleaner. Skip acidic cleaners on natural stone, which can etch it.
If your hardness test comes back very high, consider a whole-home water softener or at minimum a showerhead filter. These aren’t miracle fixes, but they reduce the mineral load hitting your finished surfaces every day. Our technicians have up to 10 years of experience installing and troubleshooting the fixtures that take the brunt of this, and we’ve seen how quickly scale builds when the routine slips.
Caulk and Sealant Inspection Intervals in Desert Heat
In Las Vegas, caulk and sealant should be inspected every three to four months and replaced roughly every one to two years, not the three to five years a national guide might suggest. The reason is UV and dry heat. Sunlight through a window, plus indoor temperatures that swing with the seasons and dry air that pulls moisture out of flexible materials, ages sealant faster here. Caulk that would last years in a mild climate can crack and pull away from the wall in a single desert summer.
Where to look:
- Around the tub and shower base: the seam where the base meets tile is the highest-risk joint for water intrusion.
- Inside the shower: corners, the tile-to-valve-trim seam, and the floor-to-wall line.
- Around the toilet base: a cracked seal here is a slow leak waiting to damage the subfloor.
- At the sink backsplash and counter seam: water wicks into gaps and softens drywall and cabinetry.
Check by pressing a fingernail into the caulk. If it’s hard, chalky, cracked, or pulling away, it needs to be cut out and replaced, not patched over. Caulk is not a permanent material, and in a desert home it works harder than most homeowners expect. Getting ahead of a failed seal is far cheaper than repairing water damage behind a wall.
If you’re noticing recurring caulk failure or water staining in a shower that’s already been remodeled, a specialist evaluation can tell you whether the issue is cosmetic caulk or the waterproofing behind the tile. That’s the kind of detail that separates a shower built to last from one that just looks finished, and it’s why we use systems like Schluter behind the walls.
Maintaining Delta, Kohler, and Toto Fixtures After Install
Fixture-brand maintenance in Las Vegas should follow manufacturer recommendations for cleaning, but the cleaning interval itself should tighten because of hard water. In practice, that means: use only the cleaners the manufacturer approves, avoid abrasives and harsh chemicals, and descale more often than the national schedule suggests. Each brand is a little different.
- Delta: Delta publishes care-and-clean recommendations by finish. Stick to mild soap and water and a soft cloth on brushed or matte finishes, and use approved mild descalers on the internal components. Mineral buildup in aerators is the most common cause of reduced flow.
- Kohler: Kohler’s finish care guidance matters here, because certain finishes (especially some living-metals and polished finishes) react to harsh cleaners. Follow the finish-specific guidance in the care guide, and wipe down after each use.
- Toto: Toto fixtures, especially their premium toilets, benefit from their recommended cleaning products and from attention to internal components. Hard water can affect fill valves and internal seals, so a periodic water-quality check and routine descaling is worthwhile.
The pattern across all three brands is the same: manufacturer-approved cleaning products, gentle tools, and a shorter real-world interval for this climate. Read the care guide that comes with each fixture, keep it somewhere in the bathroom, and follow it. When a fixture is underperforming, the first suspect is mineral buildup, and the first fix is a proper descale, not a replacement.
If you’re planning a remodel and want fixtures chosen for how they’ll age in Las Vegas water, not just how they look in a showroom, a bathroom specialist can match the right product line to the right room. That’s the point of working with a team that carries Delta, Moen, Kohler, Toto, Grohe, American Standard, Sterling, and Schluter: the recommendation is driven by fit and budget, not by a single stock SKU.
Ventilation Fan Checks for Desert Humidity Swings
Exhaust fan performance in a Las Vegas bathroom needs checking at least once a year, and cleaning every few months, because the desert creates a specific humidity problem. The outdoor air is dry, so a steaming shower pushes indoor humidity very high in a short time, and if the fan can’t clear that humidity quickly, moisture condenses on cooler surfaces and can lead to localized mold even in an otherwise dry home. The desert doesn’t make a bathroom immune to mold; it just means the moisture comes from showers rather than the outside air.
Simple checks you can do yourself:
- The tissue test: hold a single square of toilet paper or tissue up to the fan grille with the fan running. If the fan can’t hold it, airflow is weak.
- Listen and feel: a rattling or grinding fan is a failing motor or a clogged blade. A fan that’s quiet but moving almost no air is often a blocked or undersized duct.
- Clean the grille: dust and lint build up in the grille and reduce airflow. Remove the cover and wash it, and gently clean the blades if accessible.
- Run time: run the fan during showers and for 15 to 20 minutes afterward, or use a humidity-sensing fan that runs until humidity drops.
If the fan runs but mirrors and walls stay wet, the duct may be undersized or blocked, or the fan may be on its way out. Bathroom-only specialists replacing a fan as part of a walk in shower project can make sure it’s properly sized to the room and vented correctly, which is often the difference between a mold-free shower and a recurring problem.
Seasonal Tile and Stone Resealing Schedule
Tile and stone in a Las Vegas bathroom should be resealed based on seasonal temperature swings, not on a generic “every few years” rule. The desert’s wide daily and seasonal temperature ranges, combined with dry air and hard water, stress sealed surfaces faster than in mild climates. In practice, that means confirming the sealer each season and planning a full reseal roughly once a year for high-use showers, with natural stone getting more attention than porcelain tile.
Why the season matters:
- Summer heat and UV: sun exposure through windows can degrade sealers faster, and indoor temperatures stress the sealer-tile bond.
- Heating-to-cooling swings: seasonal swings cause repeated expansion and contraction that can open microscopic cracks in sealer.
- Hard-water mineral load: minerals in the water work against sealer with every shower, so resealing is part of keeping the barrier intact.
Here’s the annual pattern we walk homeowners through:
- Check sealer each season: put a few drops of water on grout or stone. If the water beads up, the sealer is working. If it soaks in and darkens the surface, it’s time to reseal.
- Deep clean before resealing: use a pH-neutral cleaner on stone, and let the surface dry fully.
- Reseal: apply a penetrating sealer suited to the material, following the product instructions for cure time.
- Note the date: track when you resealed, so you stay ahead of the schedule heading into the next hot season.
Natural stone, especially in a shower, will need more frequent attention than porcelain and ceramic tile. If you’ve recently finished a remodel, ask for the specific sealer and schedule used, since the best plan is built around the exact material in your room. If you’re not sure what’s on your tile now, a bathroom specialist can identify it and set you up with a resealing plan.
Your Las Vegas Bathroom Maintenance Calendar
A simple calendar turns all of this into a routine you’ll actually keep. Here’s a quarterly rhythm built around the Las Vegas climate:
- Every shower: squeegee glass, wipe fixtures.
- Weekly: descaler spray on glass, tile, and fixtures.
- Monthly: soak showerheads and aerators, check for early mineral crust, and clean the exhaust fan grille.
- Every three to four months: inspect caulk and sealant at every joint; reseal as needed.
- Each season: water-drop test on tile and stone sealer; check the exhaust fan’s airflow and listen for noise.
- Annually: full reseal of high-use showers, professional check of the fan and waterproofing details.
Keep the calendar on the inside of a vanity door or in a phone reminder. The point of all these small tasks is to protect the big investment in your Dayspring Bath Remodeling bathroom, and none of them take long once they’re part of the routine.
Common Mistakes to Avoid
- Treating hard water as a cosmetic problem. It’s not. Left unmanaged, mineral film etches shower glass and dulls finishes permanently, and by the time it’s visible, it’s often too late to clean away.
- Caulking over old, failed caulk. Patching hides the problem and traps moisture behind the new layer. Cut out the old sealant, clean and dry the joint, then reapply.
- Using harsh or abrasive cleaners on premium finishes. Products that work on a standard finish can damage the finish on a Kohler or Grohe fixture. Follow the manufacturer’s care guide.
- Skipping the exhaust fan because it’s “dry in Las Vegas.” The desert air doesn’t remove the moisture from your showers. A weak fan keeps that humidity inside the room, where it condenses on cooler surfaces.
- Assuming the sealer will last “a few years.” In this climate, sealed tile and stone need checking every season and resealing far more often than a national guide suggests.
- Ignoring the first sign of white crust. Early mineral buildup wipes away easily; old, hardened scale takes a lot more effort and may require professional removal.
- Forgetting the showerhead and aerators. They’re the first components to clog with scale, and they quietly cut water pressure and strain the fixture internals.
See the difference
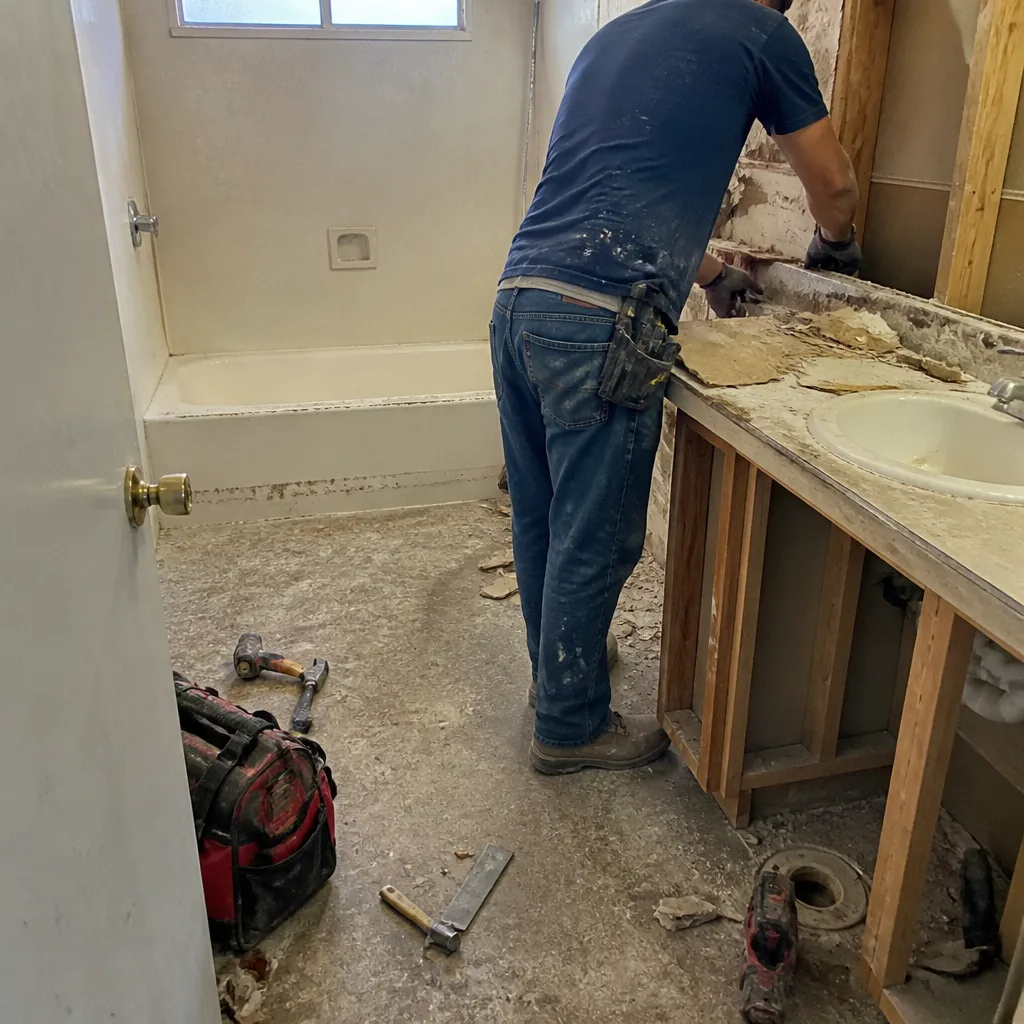 Before
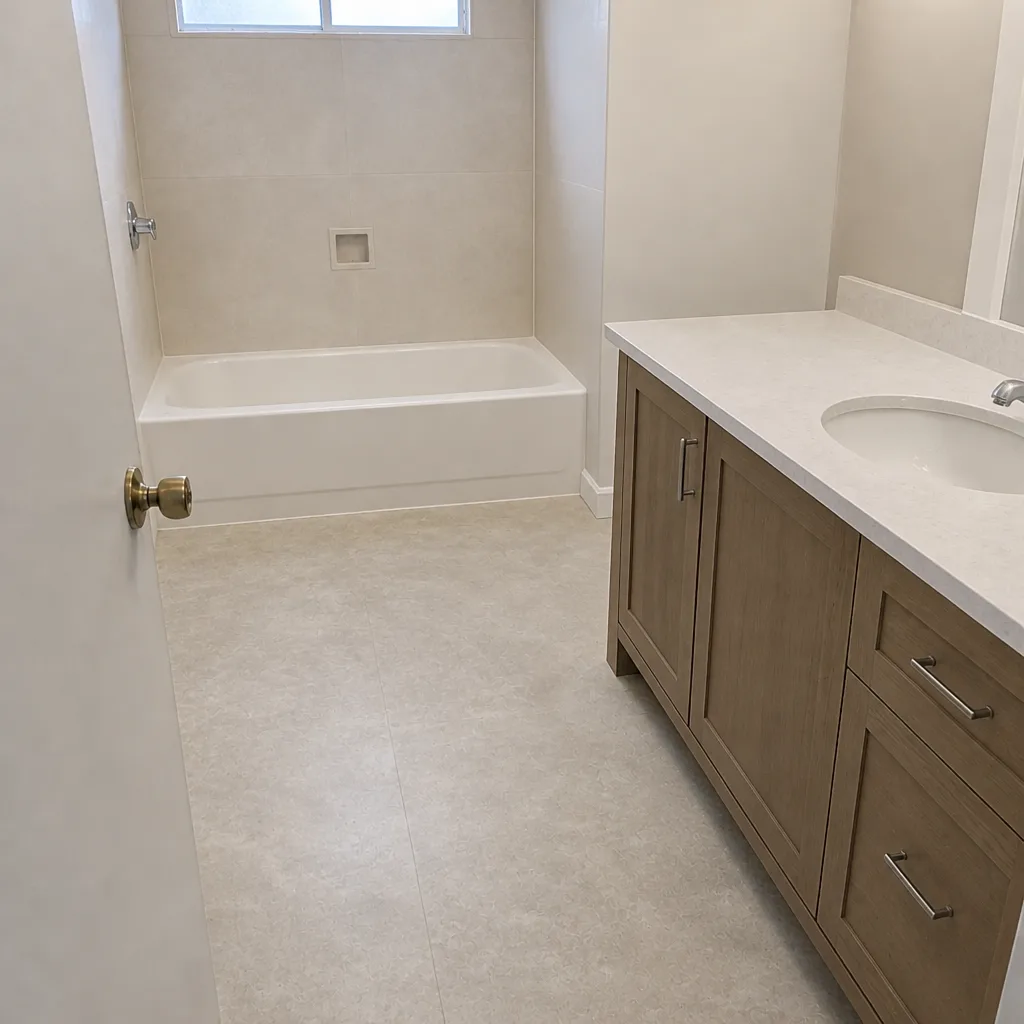 After
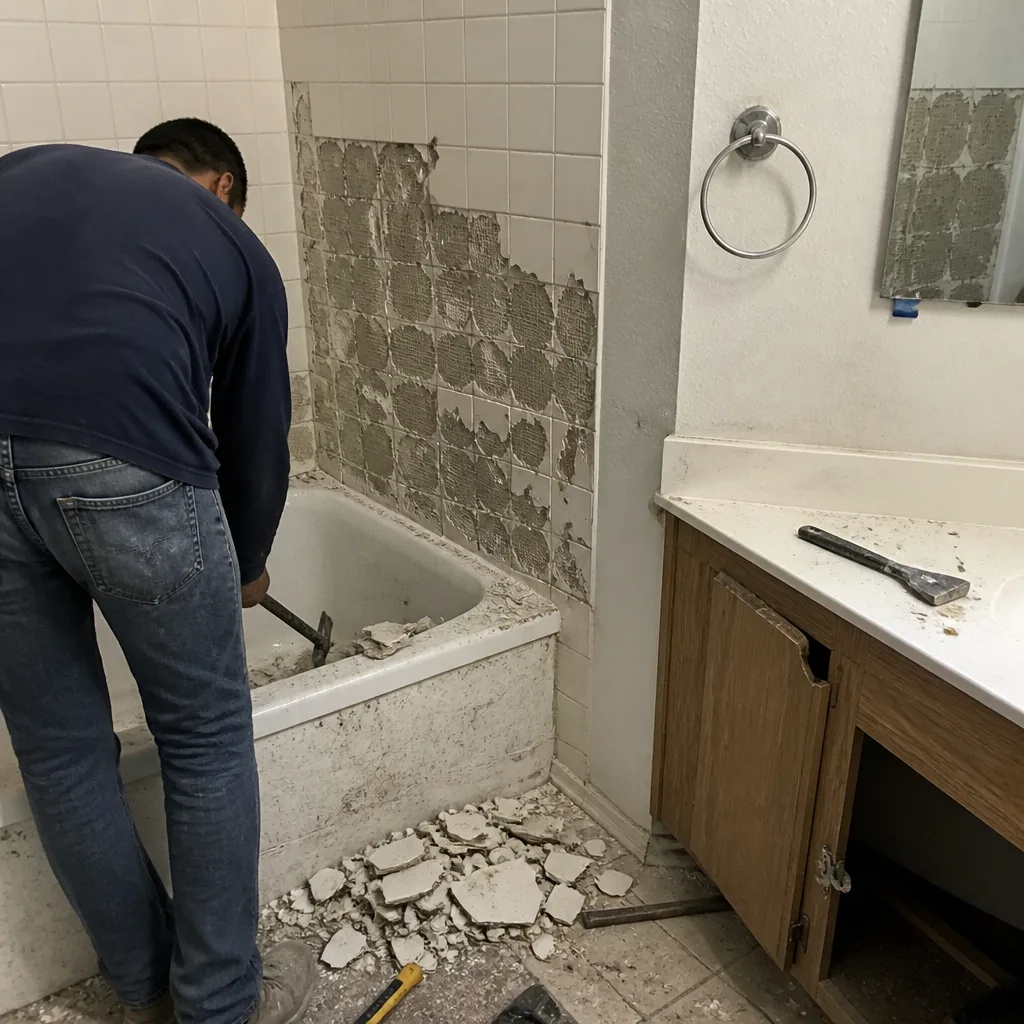 Before
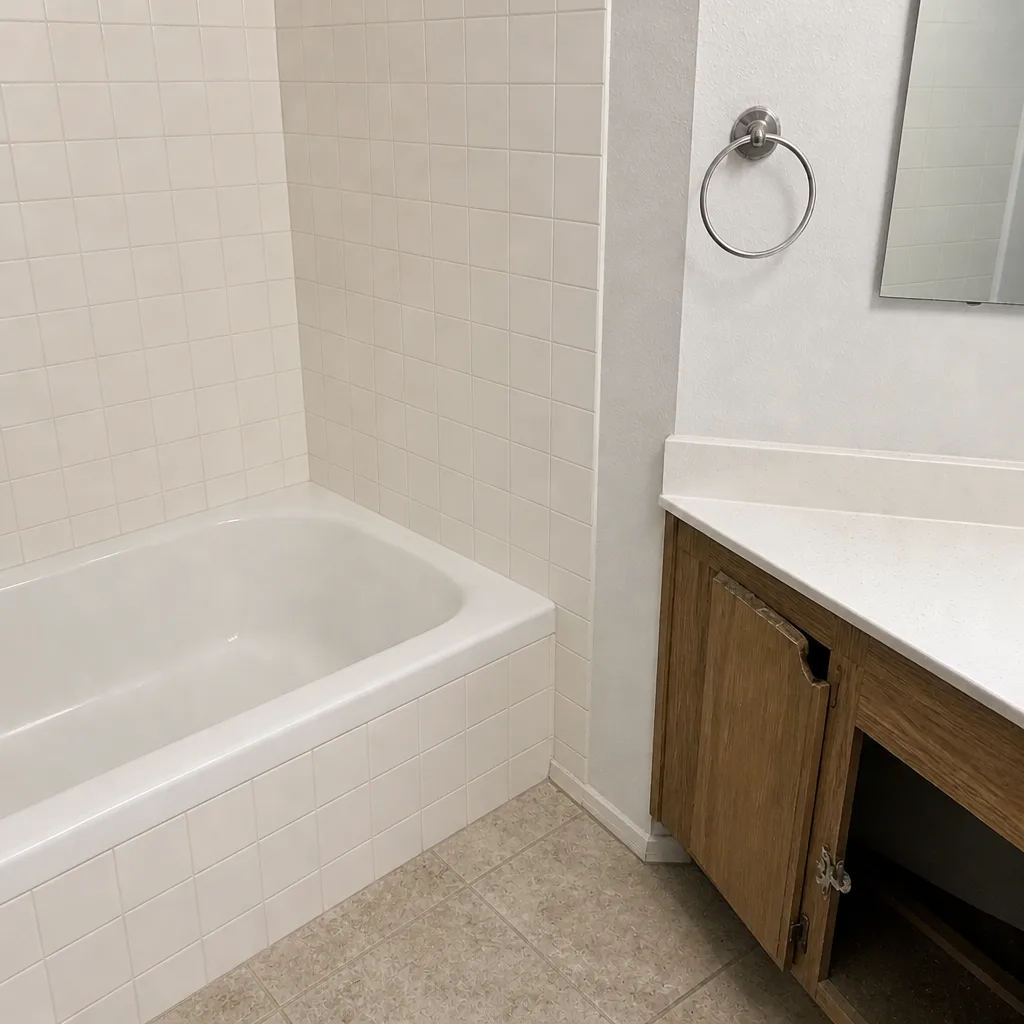 After
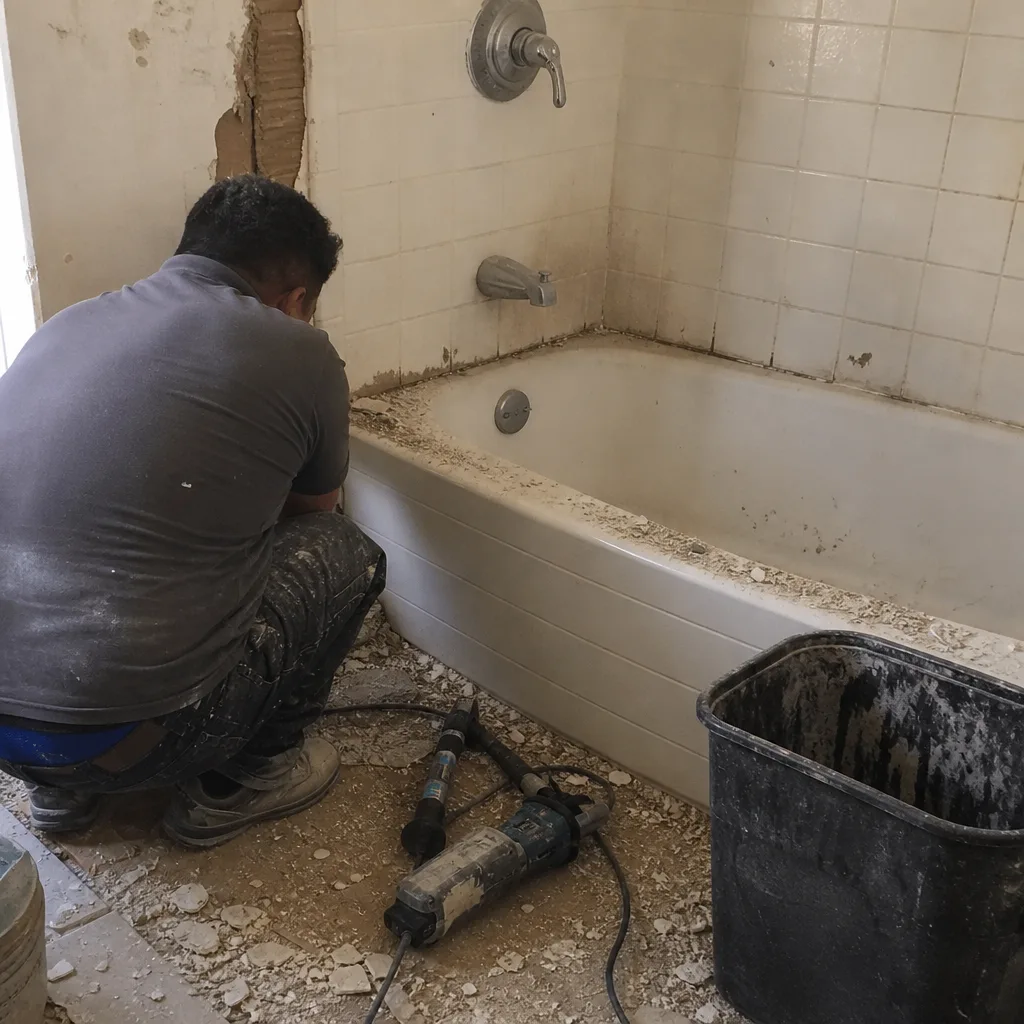 Before
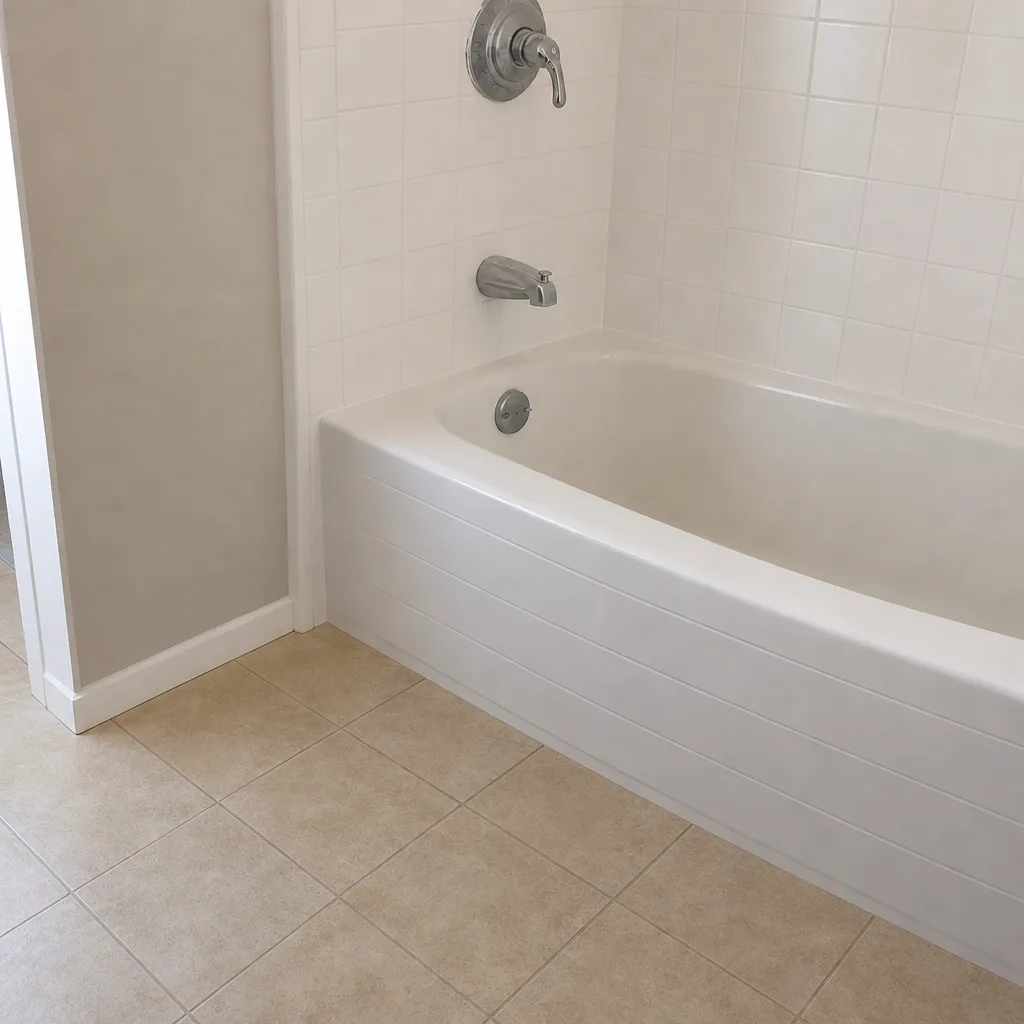 After
When to Call a Professional
Most of the routine on this checklist you can handle yourself. But some problems call for a trained eye: recurring caulk failure or water staining that points to a failing shower pan or waterproofing, a shower or bath that’s clearly leaking, an exhaust fan that’s undersized or vented wrong, tile that’s loose or stone that’s cracking, or fixtures whose performance hasn’t improved after a good descale. In those cases, a specialist evaluation is faster and cheaper than guessing. If you’re thinking about a tub-to-shower conversion or a full Las Vegas bathroom remodeling project and want to start with a maintenance-aware plan, Dayspring Bath Remodeling offers free estimates in Las Vegas – call (888) 393-8208. We answer 24/7. Fast dispatch from 7am to 7pm, Sunday through Friday.
Frequently Asked Questions
Plan on a weekly descaler cleaning and a daily quick squeegee on shower glass and fixtures. Las Vegas water is hard, so minerals build up faster than most national cleaning advice allows. The weekly routine is the most effective single habit. For a specific plan, call (888) 393-8208 for a free consultation.
UV exposure and dry desert heat age sealant faster here than in mild climates. Caulk that would last years elsewhere can harden and pull away within a year or two, so inspect it every three to four months and replace it when it’s hard or cracked. Call (888) 393-8208 for a free estimate if you’re not sure whether it’s caulk or waterproofing.
Hard-water minerals leave a film that etches glass and dulls finishes, and in a shower they collect on grout and tile and work against sealer. Las Vegas water is hard, so descaling and resealing are part of keeping the surfaces protected. Call (888) 393-8208 for a free consultation on protecting your shower.
Check the sealer each season and plan a full reseal roughly once a year for high-use showers, with natural stone needing more attention than porcelain tile. The desert temperature swings and hard water stress sealed surfaces faster than the “every few years” guideline. Call (888) 393-8208 to schedule a free estimate for resealing or any tile work.
Yes. The desert air outside is dry, but a steamy shower still pushes indoor humidity very high very fast, and a weak fan leaves moisture that condenses and can lead to localized mold. Check the fan’s airflow and clean the grille at least annually. Call (888) 393-8208 for a free estimate if your fan isn’t keeping up.
Follow the manufacturer’s care guide for cleaning products and methods, but shorten your descaling interval to account for hard water. Each brand has finish-specific cleaners and avoids, especially for premium finishes. Call (888) 393-8208 for a free consultation if a fixture is underperforming after a proper descale.
The Bottom Line
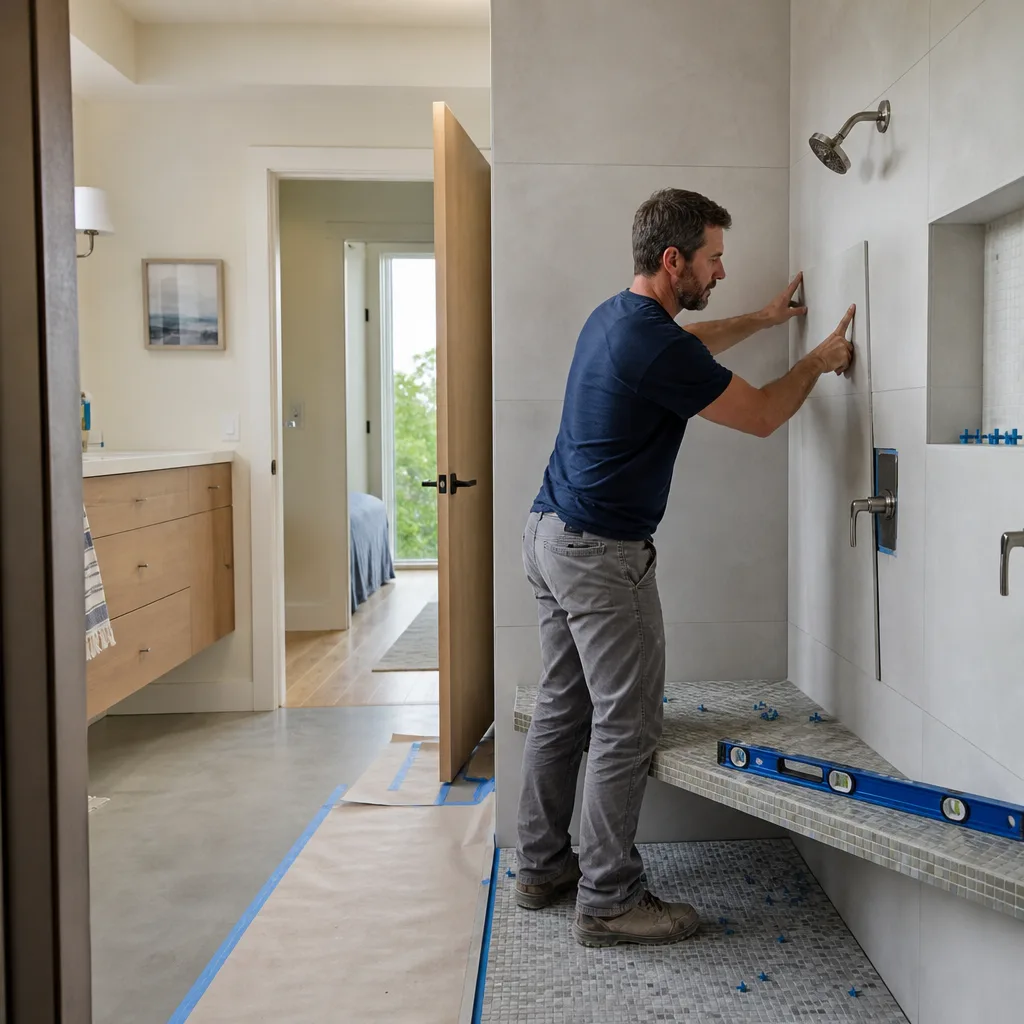
A bathroom remodeled in Las Vegas needs a maintenance plan built for hard water, UV exposure, and dry heat. The essentials: squeegee and descale weekly to keep minerals off glass and fixtures, inspect and replace caulk every three to four months instead of yearly, clean and check the exhaust fan at least annually, and water-test and reseal tile and stone each season. Follow each fixture brand’s care guide while shortening your real-world descaling interval, and stay ahead of the first sign of white mineral crust. Do that, and the fixtures, finishes, and waterproofing you invested in will hold up far longer. When a problem goes beyond routine care, get a professional look before it spreads.
(888) 393-8208. We answer 24/7. Fast dispatch from 7am to 7pm, Sunday through Friday.
Written by the team at Dayspring Bath Remodeling.